Chocolate covered Oreos make great gifts. You can find them at all of the best candy stores, but when you know how to make chocolate covered Oreos with mold, you can easily make your own special gifts at a fraction of the cost. And as a no bake dessert, they are easy to make for bake sales and special occasions.
Ingredients for Chocolate Covered Oreos
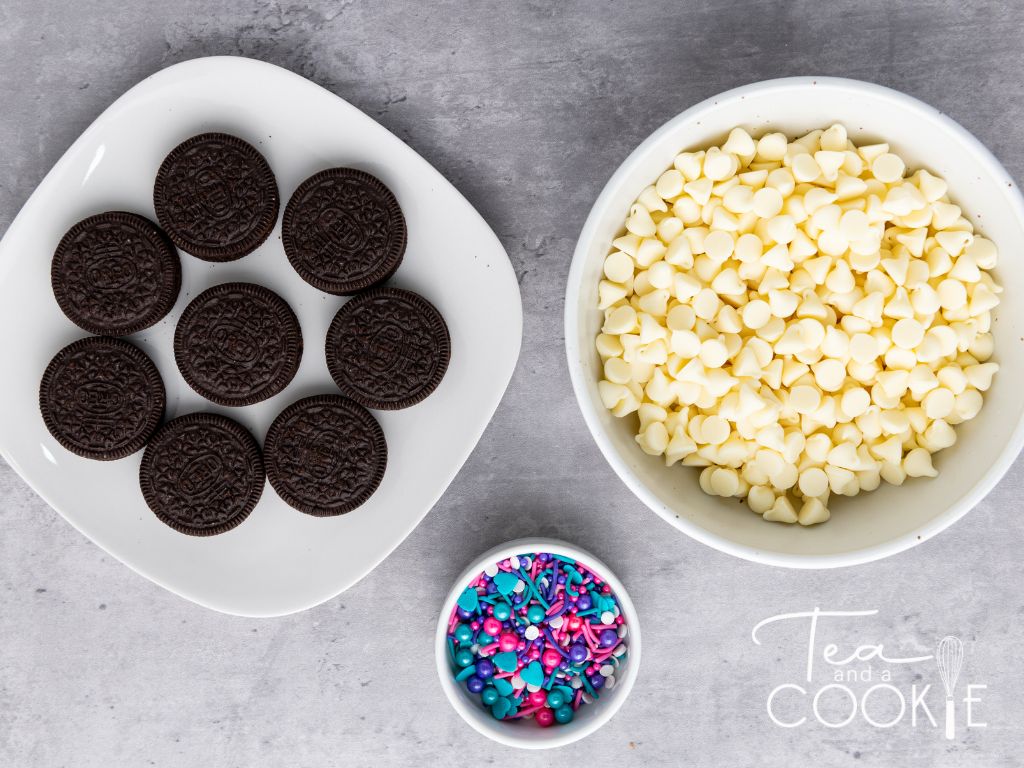
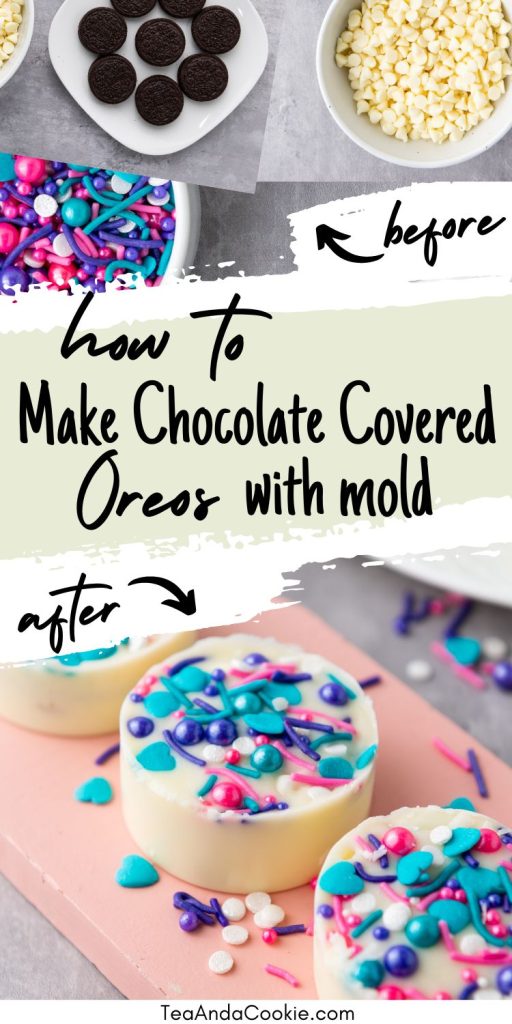
One of the best things about making chocolate Oreos is that it doesn’t require a lot of ingredients. All you need are Oreo cookies and some high-quality chocolate. You can use whatever type of chocolate you like. Milk chocolate and dark chocolate go really well with Oreos. Each type of chocolate will give you cookies that are a little bit different. That’s why it’s fun to make different types.
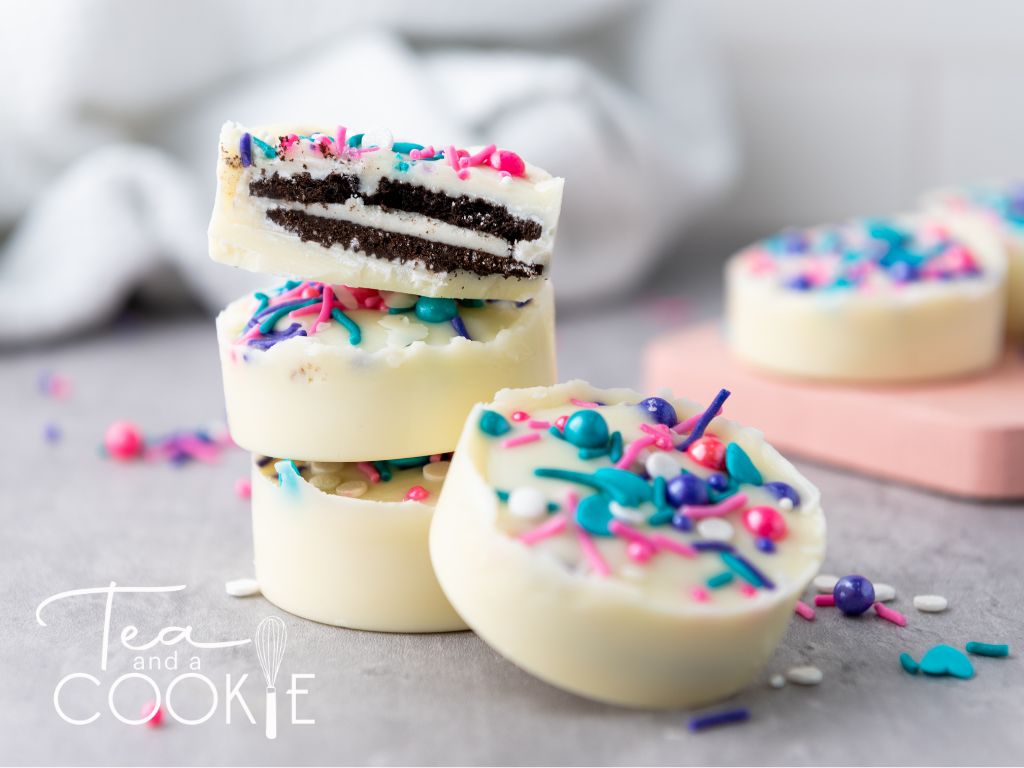
My number one rule when it comes to making chocolate covered Oreos, is to use REAL chocolate. Do not use candy coating chocolate. They have an artificial flavor that ruins a perfectly good Oreo. Instead, if you want to use a colored chocolate opt for using white chocolate mixed with food coloring. This way you get a mild chocolate coating in a pretty color. Or, use white chocolate and colorful decorations on top if you want a colorful cookie.
In addition to choosing what type of chocolate to use, you can also use different types of Oreos. I like to stick with the traditional Oreo cookie, but you can also switch things up by using some of the seasonal cookies. Use a mint chocolate Oreo for the holidays, St. Patrick’s Day, or Easter. Or how about using a birthday cake Oreo to make a party favor for a birthday party.
The combinations you can make with the type of chocolate you use, and the flavor OREO you choose, makes chocolate covered Oreos a great dessert to make any time of year. You can also substitute your favorite sandwich cookies for the Oreos and that gives you even more flavor options.
One of the nice things about making chocolate Oreos is that you can make as many, or as few, as you’d like. As a general guide, I suggest using 1 ounce of chocolate for each Oreo cookie. For example, if you want to make 8 chocolate covered cookies, melt 8 ounces of your favorite chocolate.
Ways to Make Oreo Cookies with Chocolate
There are a couple of options when it comes to making chocolate-covered Oreos. One way is to dip the OREO cookie in chocolate. The other way is to use a mold. Both ways are easy, delicious, and so pretty. But they do make different chocolate covered Oreos. Here’s a look at both ways, but I’ll focus on how to make chocolate covered Oreos with mold.
Chocolate Covered Oreos Without Mold
Here are the steps for how to make Oreo cookies dipped in chocolate. You don’t need any mold for this technique, just a wire rack, baking sheet and parchment paper.
- Line a baking sheet with parchment paper, or wax paper, and then place a wire rack on top of the paper.
- Place OREO cookies on the wire rack, leaving a little space between them.
- Melt chocolate. The easiest way to melt chocolate is in the microwave. Place chocolate in a microwave safe bowl. Melt chocolate at 30-second intervals, stirring between each interval.
- Depending upon how thick the chocolate is, you can either pour chocolate over the Oreos. Or use a fork to dip the Oreo in the chocolate. I like using a fork instead of a spoon because a fork is flatter and lets the excess chocolate drip off more easily. I also like a fork because you can also use it to spear the Oreo filling and dip it that way if you prefer. However, I like cradling the cookie on top of the fork and dipping it into the chocolate that way.
- Let the excess chocolate drip off into the bowl and then place the Oreo on the wire rack to set. I like using a wire rack because it lets the chocolate drip onto the paper, and you can always scrape this up and re-use it. However, the rack can leave marks on the bottom of the cookie, so you can also place the OREO directly onto the wax paper or parchment paper and skip the wire rack altogether. It’s really just a personal preference.
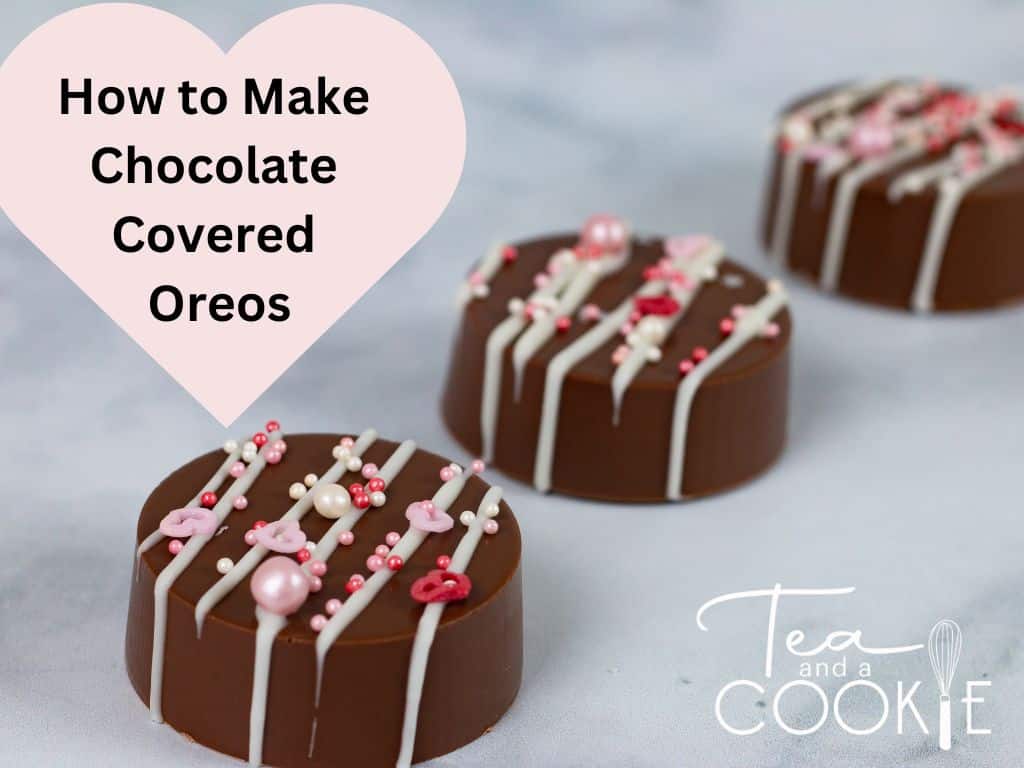
How to Make Chocolate Covered Oreos with Mold
Now let’s look at how to make chocolate covered Oreos using a mold. This technique gives you chocolate-covered Oreos that are clean and have a crisper shape to them. You can also control how much chocolate you get on the cookie because it is contained in the mold as the cookie sets. I also think that this method is faster and easier than making them without a mold.
Without a mold you have to cover the Oreos with chocolate one at a time. I find it to be a much more tedious process because you have to dip each cookie and be patient as you let the excess chocolate drip off before leaving them to set.
When you make chocolate covered Oreos using a mold, you can place a thin layer of melted chocolate in the bottom of all the mold cavities and then move on to the next step. It makes the whole process more of an assembly line where you complete one step for all the cookies before moving on to the next step. Without a mold, you have to complete one cookie at a time.
Here are the steps for how to make chocolate covered Oreos with mold. You can use a silicone mold for this. They actually make an Oreo mold, but if you don’t have one you can also use a small muffin tin, or candy mold. A muffin tin isn’t perfect, and the cookies won’t be as pretty, but it’s still an option if you prefer the process of using some type of container, or mold to make Oreos with chocolate.
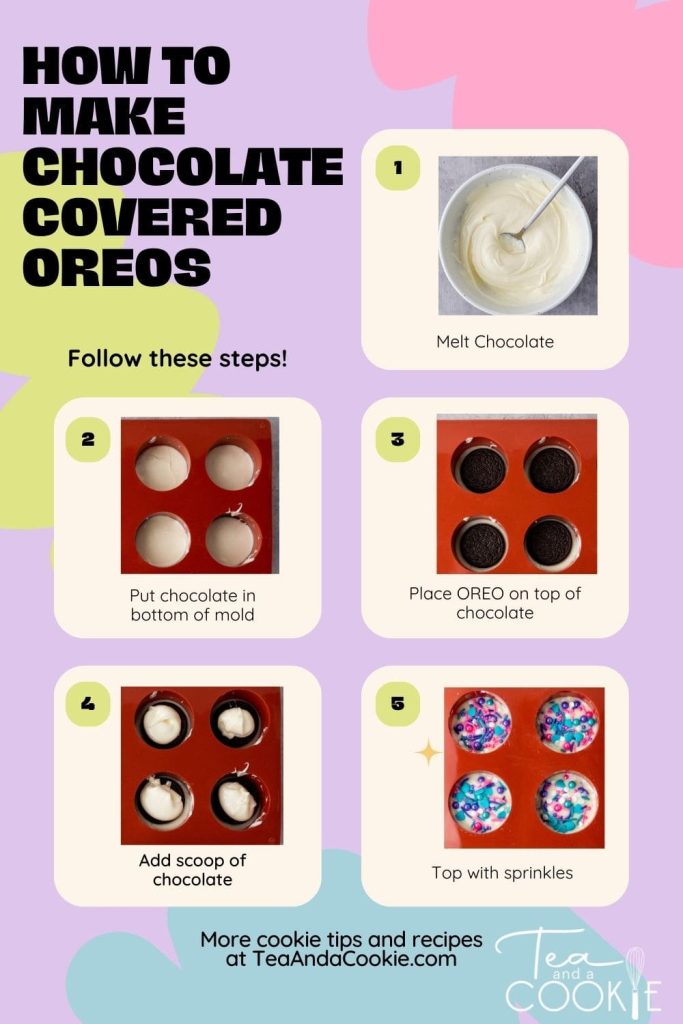
- Melt chocolate in the microwave.
- Place a spoonful of melted chocolate in the bottom of the mold. Repeat this step for every mold cavity.
- Place an Oreo on top of the chocolate and press down slightly so that the chocolate comes up the sides of the Oreo.
- Scoop another spoonful of chocolate on top of the cookie. If you’re using a mold that is the proper size, like an Oreo cookie mold specifically, you can fill chocolate to the top of the mold. If you’re using a larger mold, you may not want to fill it all the way up to the top.
- Top each Oreo with colorful sprinkles, glitter, chopped nuts, or your favorite candy.
One note about the process. If you choose to use chocolate transfer sheets to decorate your Oreos, you should place the transfer sheet in the bottom of the mold cavity before you begin steps 2-4 above.
Decorating Chocolate Oreos
Decorating chocolate-covered Oreos is a fun way to make unique cookies for any occasion, and there are so many different ways to jazz-up these sweet treats. I know I said for best results you should skip the candy melts and use real chocolate instead. However, for decorating it’s OK to use candy coating like Wilton candy melts. These chocolate candy melts come in pretty colors and are nice to use for decorating.
In addition to colored chocolate melts, you could also use melted white chocolate chips mixed with food coloring. I like to melt chocolate in a glass bowl and then transfer to a Ziploc bag, or piping bag. Snip the corner of the baggie and you can write on the Oreo with the additional chocolate. This is a fun way to decorate the Oreos. You can add flowers, snowflakes, a heart, or any design you choose.
Chocolate transfer sheets are another way to decorate chocolate covered Oreos. Just remember to put the sheets in the mold before you start adding the chocolate and Oreos. You can find premade designs like hearts for Valentine’s Day. Or you can purchase plain sheets that you can decorate yourself. This is a fun way to make personalized Oreos for a bridal shower, or party.
Oreo Gift Ideas
Knowing how to make chocolate covered Oreos with mold comes in handy when you’re looking to make a gift or come-up with a dessert for a special occasion. They’re also great for bake sales. These chocolates are naturally good for Valentine’s Day, but they are also the perfect treat to make for a baby shower, birthday parties, or any special event. You can store the cookies at room temperature for a couple of days. Or you can refrigerate them in an airtight container, and they will keep for 2-3 weeks.
These cookies are so much fun to make, and you can really make them your own. Use your personal favorite for the flavor of the Oreo and chocolate that you choose when making chocolate-covered Oreos. With very little effort, you have the best treats that everyone will love.
More cookies that are great for Valentine’s Day:
Follow me on Pinterest
- Easy Ghost Chocolate Chip Cookies Recipe for Halloween - September 20, 2024
- Best Chocolate Chip Cookie Recipe with Powdered Sugar - September 17, 2024
- Easy Peanut Butter Spider Cookies Recipe for Halloween - September 13, 2024