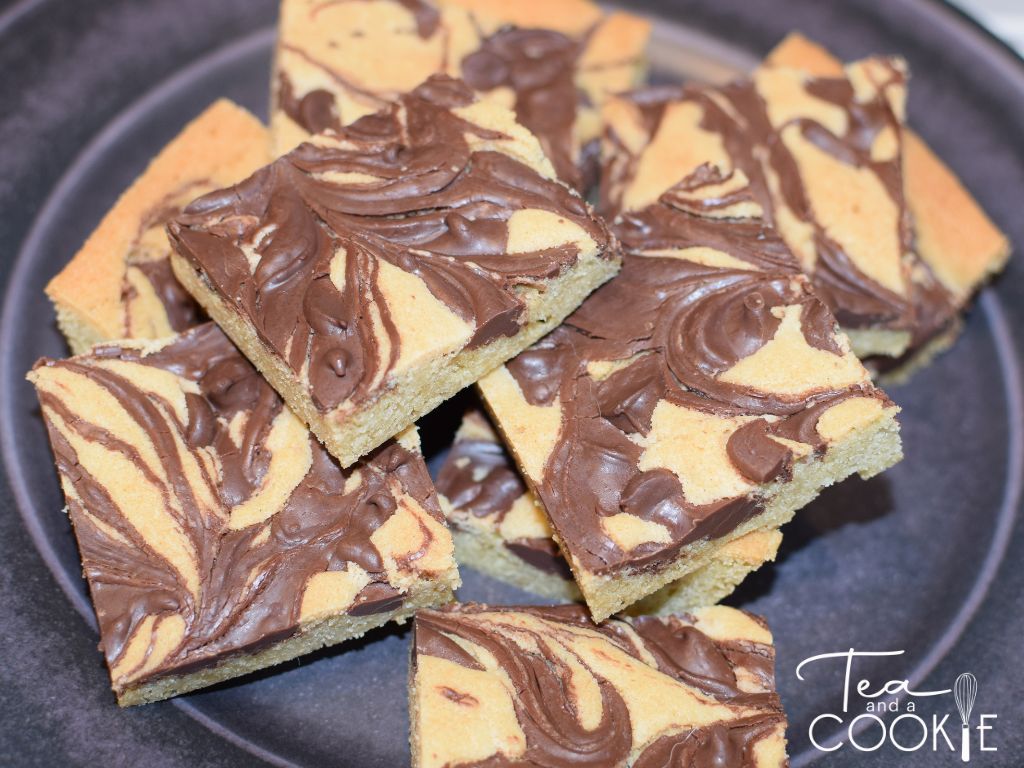
Easy Toll House Marble Bars Chocolate Chip Cookies
One of my family’s favorites is toll house marble bars. It’s one of those recipes that is so easy to make, and because it’s a bar cookie it doesn’t take much work. My mother’s recipe calls these toll house marble squares, so we refer to these bars simply as marble squares. Whenever my kids need to bring a snack to school, help with a bake sale, or celebrate their birthday, marble squares are always what they want.
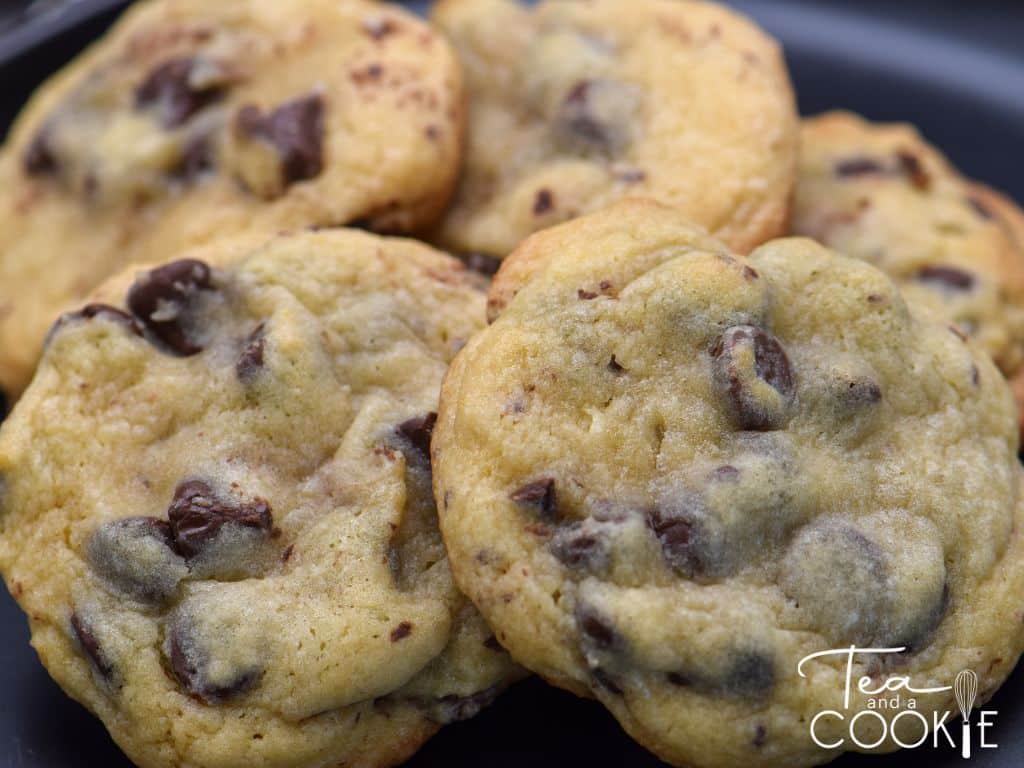
If you love chocolate chip cookies, then you’ll love these toll house marble bars. It’s essentially just a toll house recipe. But instead of mixing the chocolate chips into the cookie batter, you scatter them on top. The kids love helping me marbleize the chocolate to make a pretty pattern.
This recipe doesn’t use as many chocolate chips as a typical chocolate chip cookie recipe, and I think that’s another advantage to this recipe. You can really stretch your ingredients and get a great tasting cookie without having to use a full bag of chocolate chips.
Making Toll House Marble Bars
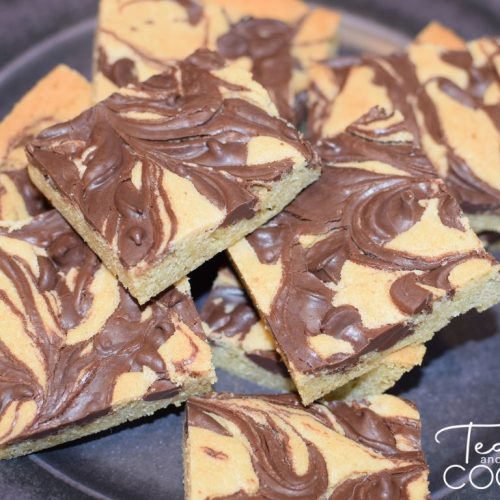
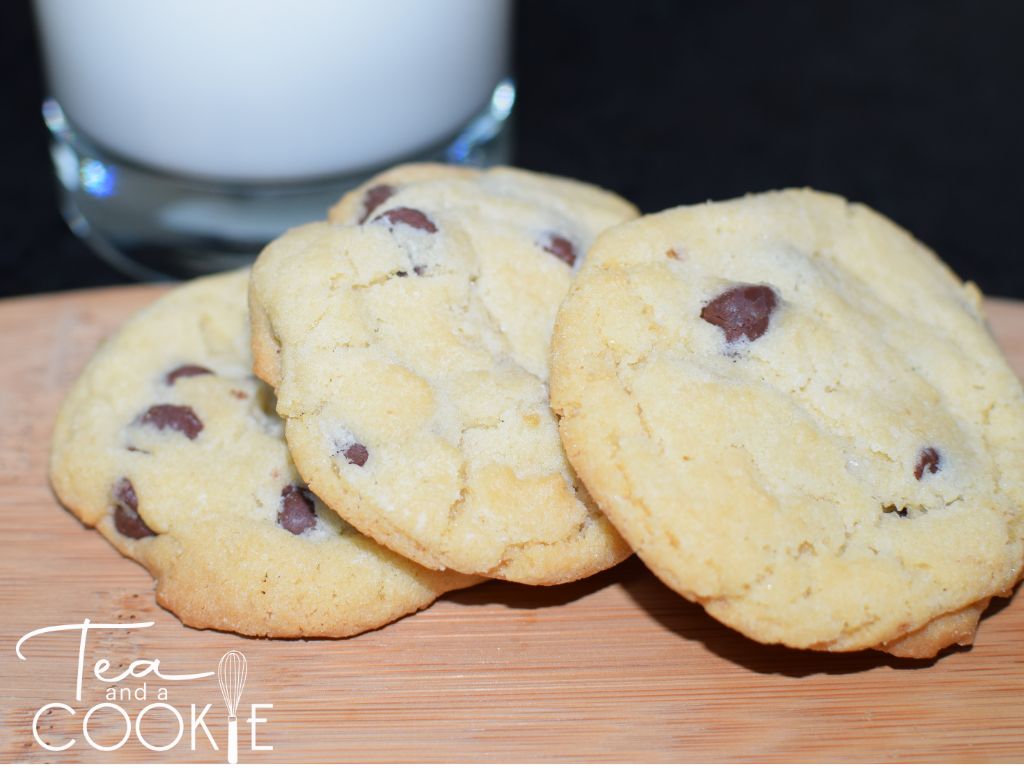
I have to admit that I have modified my mother’s recipe for marble squares. Although her recipe is delicious, I do find it to be a little more cake-like than I prefer. And I don’t find that the cookies stay fresh for as long. My recipe makes a chewier, softer bar that will last for days in an airtight container (if they last that long of course). I cut them into 2-inch squares, and they are the perfect snack when you need a little pick me up.
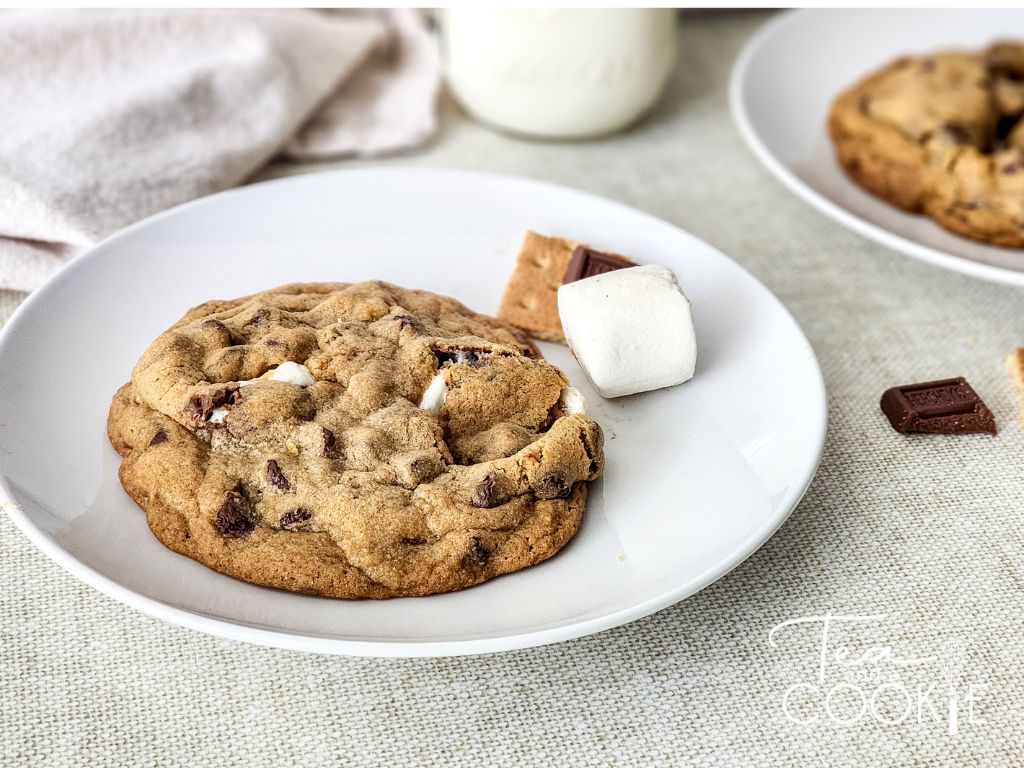
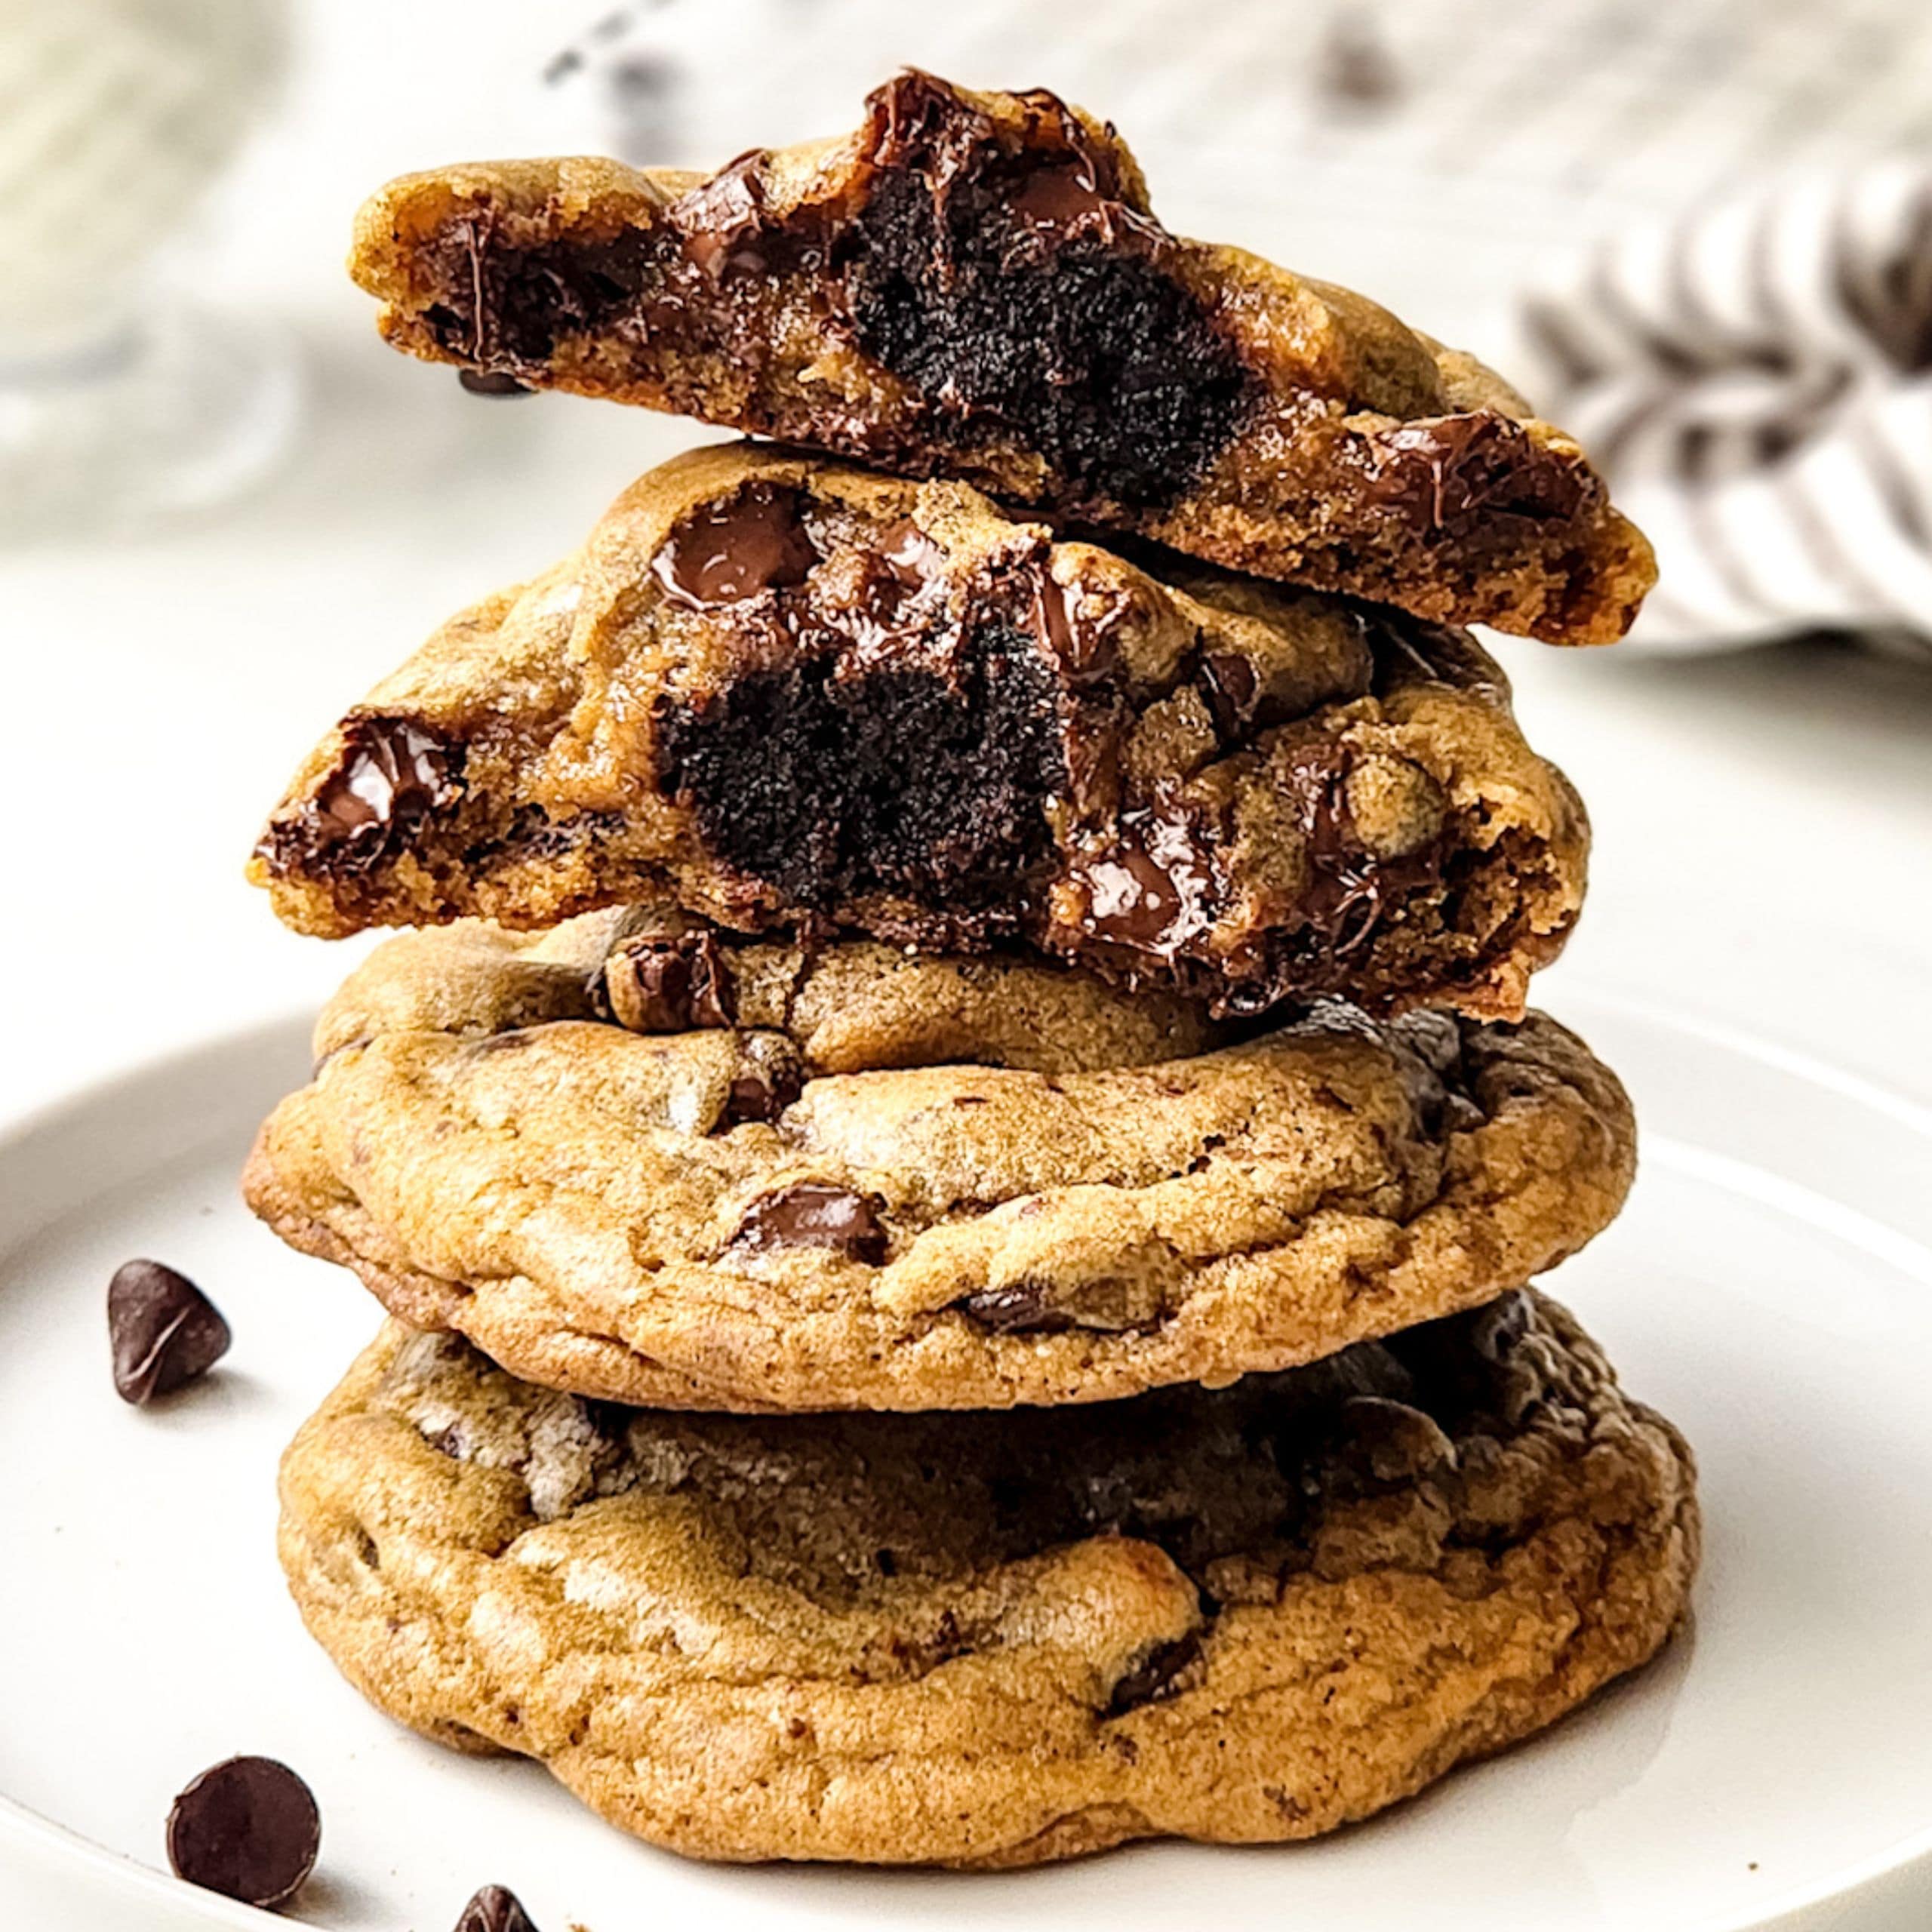
I also like the added flavor and softness that brown sugar adds to the cookie, so I use more brown sugar than granulated sugar in my recipe. If you’ve made the ATK Chocolate Chip Cookies, this recipe is similar. And that’s the nice thing about these bars, if you have a favorite chocolate chip cookie recipe, go ahead and give it a try using the technique for marbleizing the chocolate chips on top.
My Toll House Marble Bars Recipe
As I mentioned, I have modified my mother’s recipe to make toll house marble bars that are more to my liking. I love chocolate chips cookies that are crisp around the edges, and chewy in the middle. So my toll house marble bars recipe gives me the chewy center that I love. But the nice thing about this recipe is that it’s easy to modify to fit your needs. Here are some of my tips for how to make the best marbled chocolate chip bars.
Because I use melted butter with this recipe, I don’t use an electric mixer. I use a whisk to mix butter, both sugars, egg, vanilla, and salt together in a medium bowl. Then I switch to a spoon for adding the flour mixture. Because this recipe only uses 14 tablespoons of butter instead of 1 cup butter, the batter is a little thicker than usual.
I usually use a 9×11 inch pan for baking these bars. The cookies turn out golden brown, with a chewy center. You can use a larger baking pan if you want thinner cookies, or you want more cookies per batch. When I use a 9×11 I usually have some extra cookie dough that I put in the refrigerator to snack on, or to make into regular chocolate chip cookies. But for my family I find that the 9″x11″ gives us the right number of cookies.
Tips for Making Marble Cookies
Good cookies start with the right equipment, and for this recipe, that means choosing the right baking pan. Whatever size you choose for your prepared baking pan, the key is to make sure that it has one-inch sides. So, if your normal cookie sheet is flat without sides, you’ll want to use something different.
I like to use semi-sweet chocolate chips when I make these toll house marble bars, but you can use any type of chocolate chips you like. You can also use as much, or as little, chocolate as you’d like. My mother was always more frugal with the chocolate, but I like to use more. I start with one cup chocolate chips and then I sprinkle on more if I feel like I need to fill in the gaps more. The only downside to using more chocolate is that the marbling is not as pronounced.
You can also add different flavored chips if you want to mix things up and add a little more color to the marble swirl. Some flavor options include:
- Using a mix of milk, semi-sweet, or dark chocolate.
- Adding peanut butter chips or butterscotch chips. The only downside is that these chips don’t always soften as easily as chocolate so they may not melt quite enough for a smooth marble effect. However, it’s perfectly fine if you have some whole chips on top too.
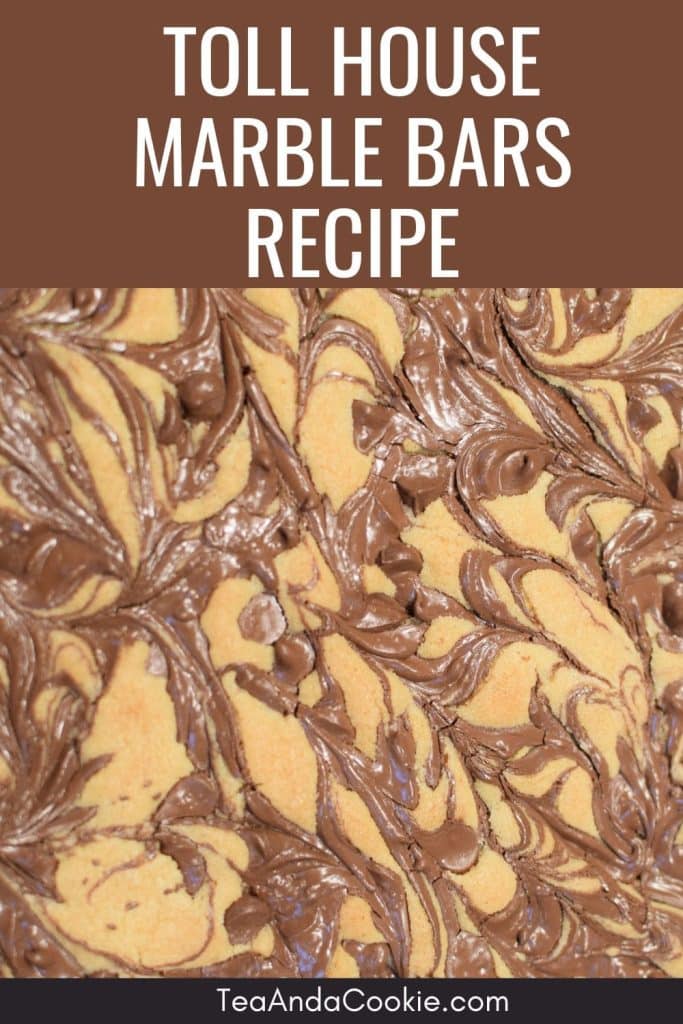
The key to getting that beautiful marble pattern is to sprinkle chocolate chips on top of batter once you’ve spread it in the prepared pan. Bake for 1-2 minutes and then remove pan from the oven. Use a toothpick to swirl the chocolate on top. If you find that your chocolate chips are still too hard, you can return the pan to the oven for another 30 seconds.
After you marbleize the softened chocolate chips, return the pan to the oven and continue baking for another 12-14 minutes. This time can vary depending upon the size pan you use, so start with 12-14 and then add more minutes if needed. Sometimes it takes closer to 18 minutes for the total baking time, but again this is usually when I use the 9×11 size pan and the cookies are thicker.
Chocolate Chip Cookie Bars
I think that Toll House marble bars are the perfect treat for any occasion. They travel well so they are great to bring to a picnic, potluck, or family gathering. I have never met anyone who doesn’t love these yummy treats, and that’s why it’s my go-to recipe when I need a baked good. Whether it’s for holiday gifts, or a kids birthday party, these chocolate chip marble bars are sure to be a hit!
If you tried this Toll House Marble Bars recipe, or any other recipe on my blog, please leave a 🌟 star rating and tell me how it went in the 📝 comments below. Thanks for visiting and happy baking!
Toll House Marble Bars
Equipment
- Mixing Bowl
- Measuring Spoons
- Measuring Cups
- 9"x11" Baking Pan
Ingredients
- 1 3/4 Cups All-Purpose Flour
- 1/2 teaspoon Baking Soda
- 14 Tablespoons Unsalted butter
- 3/4 Cup Brown sugar
- 1/2 Cup Granulated sugar
- 2 teaspoons Vanilla Extract
- 1 teaspoon Salt
- 1 Large Egg plus 1 egg yolk
- 1 Cup Chocolate chips
Instructions
- Preheat oven to 350 degrees.
- Whisk flour and baking soda together in bowl and set aside.
- Melt butter in a saucepan, or in the microwave.
- Pour the melted butter in a bowl and whisk in brown sugar, granulated sugar, vanilla and salt.
- Whisk in egg and yolk for 30 seconds until smooth and no lumps remain.
- Let mixture rest for 3 minutes
- Whisk for 30 seconds and let rest 3 minutes. Whisk again until smooth.
- Using spoon, or rubber spatula, fold in flour mixture just until combined.
- Grease baking pan and then transfer cookie dough to the pan. Spread the dough evenly and then top with chocolate chips.
- Bake for 2 minutes and remove from oven. Using a toothpick, marbleize the top of the cookies by swirling the toothpick through the softened chocolate chips. If you find that the chips have not melted enough, put back in oven for another 30 seconds.
- Return baking pan to oven and bake for an additional 15-18 minutes. Remove from oven when edges are just starting to turn color and center is starting to center.
Notes
- Adjust the amount of chocolate chips you use according to your preference. However, the more you use means less marble effect on top.
- If you prefer a more cake-like bar, increase the baking soda to 1 teaspoon and use 2 full eggs instead of 1 egg and 1 yolk.
Follow me on Pinterest for more fun and easy cookie recipes to make for any occasion. And if you try this recipe, be sure to leave a comment and let me know how it went.

- Red Velvet Blossom Cookies Recipe: Festive and Easy to Make - February 18, 2026
- Baileys Irish Cream Cookie Recipe: Fun Leprechaun Hats - February 4, 2026
- Easy Flourless Chocolate Tart Recipe: A Gluten-Free Treat - January 29, 2026

What size pan are you using?
Hi Kelley,
I use a 9″x11″ pan, but you can use a different size if you want. If you use a slightly larger pan the cookies will be thinner so decrease the overall baking time a bit. Hope you like them.
Kristen