Chocolate Ladybug Oreos: Fun Gifts and Bake Sale Treats
With their beautiful red wings and polka dots, ladybugs are the one insect I love to see. These easy chocolate ladybug Oreos are a fun way to celebrate the beautiful bug, and add a pop of color to your dessert table. A fun treat that’s as yummy to eat as it is to look at.
When to Make Chocolate Ladybug Oreos
For many people, ladybugs are a sign of good luck and positive change. Others believe that they bring good fortune and protection. Sounds like a little good luck charm that is perfect to celebrate year round.
I tend to think of ladybugs as more of a warm weather visitor, so spring is a great time to make this treat. It’s perfect for Easter, or a spring bake sale.
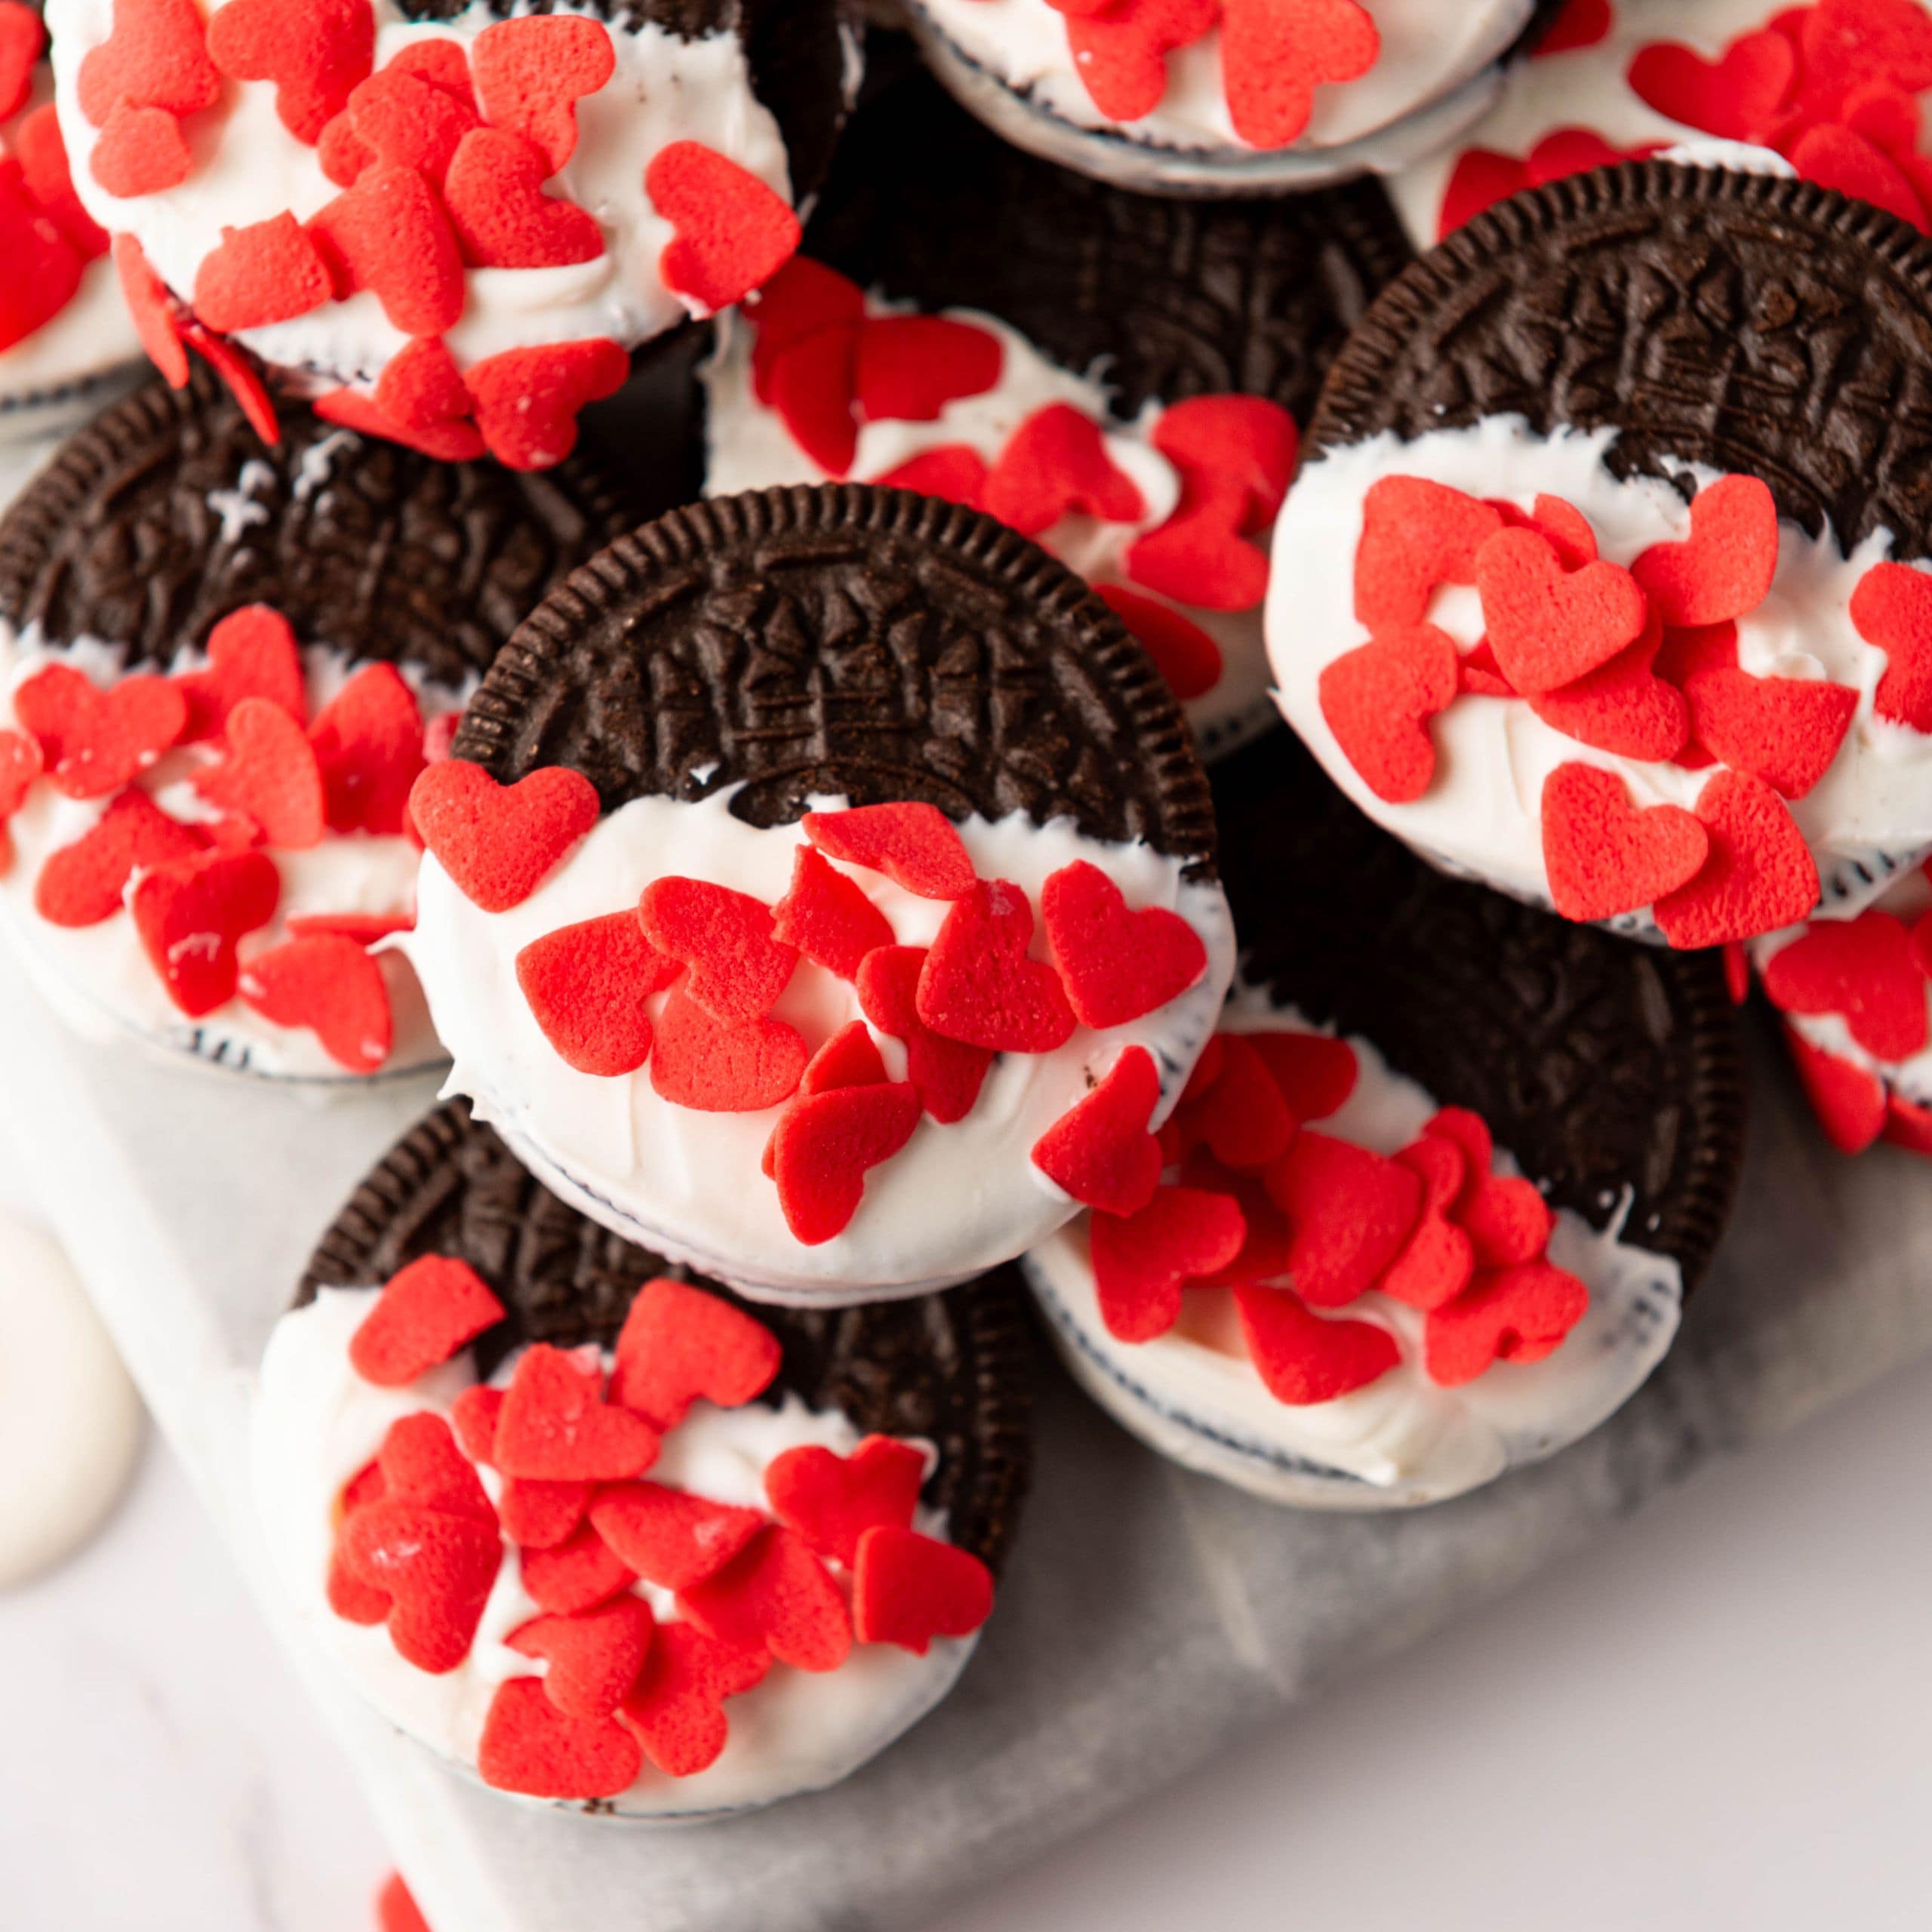
Don’t let the seasons dictate when you make these chocolate ladybug Oreos. The beautiful red coloring also makes them a pretty treat to make for Valentine’s Day, and even Christmas. But perhaps one of the most appropriate times to make these decorated Oreos is to celebrate the New Year. A time for the hope and good luck that ladybugs bring.

Step by Step With Pictures
These chocolate covered ladybug Oreos are super easy to make, and only require a few ingredients. Since the Oreos are covered in chocolate, it doesn’t matter what flavor you choose. So if you want one of the seasonal, or special Oreo flavors that comes out on a limited basis, go for it!

Start by lining a couple of baking sheets with parchment paper. Then set them aside until needed. Place the milk chocolate chips and vegetable oil in a microwave-safe bowl. Microwave for 30 seconds and stir. If the chocolate is still not smooth, continue to microwave in 30-second intervals. Stir after each interval.
Select 12 of the Oreos to dip in chocolate. Using a fork or spoon, dip each Oreo in the melted chocolate and then place it on the parchment-lined sheet. Place the tray in the refrigerator so that the chocolate can harden while you work on the wings.


While the chocolate on the dipped Oreos is setting, work on the red wings for the ladybugs. Take the remaining 6 Oreos and separate the cookies. You need the chocolate wafers, but not the filling. Scrape the filling off the chocolate wafers and place them on a work surface.
Use a sharp knife to cut each chocolate cookie in half. I like to cut the cookies on the side that had the filling. It’s the “ugly” side of the wafer that doesn’t have the design or Oreo printed on it. Because it’s flat I think that it tends to cut more smoothly, and the Oreo cuts in half more successfully.

To make the traditional red wings for the ladybug, start by melting the white chocolate chips. Like you did for the milk chocolate, heat the white chocolate in the microwave in 30-second intervals until it’s smooth and creamy. Add a few drops of red food coloring and mix to distribute the color. If you need a deeper shade of red, add an extra drop or two.
Dip each half of the chocolate cookie in the red-colored white chocolate. Make sure that both sides of the cookie are covered. Lay each half on the parchment lined baking sheet, and once all are done place them in the freezer (or refrigerator) for 10 minutes.


Once the chocolate has set on the Oreos and the wings, it’s time to assemble the cookies. Start by dipping the bottom of each ladybug wing in the melted milk chocolate. If the chocolate has gotten too hard, don’t be afraid to reheat it for 15-30 seconds.
Place the two halves of the cookies on top of the Oreos so that they look like wings. Now dip two candy eyes in the melted chocolate and place the eyes at the top of the ladybug.


Now that the chocolate ladybug Oreo is assembled, it’s time to add the finishing touches. Use the end of a round tool, or cake pop stick, to create the dots for the ladybug. Dip the end of the stick in the melted chocolate and dot on top of the red wings to make the ladybug’s spots. Another way to make the spots is to pipe the melted chocolate onto the wings.


I hope you have fun making these chocolate ladybug Oreos. They are an easy, no-bake treat that kids and adults will love, making them the perfect dessert for any occasion. Store the Oreos in an airtight container or package them up to give as gifts.

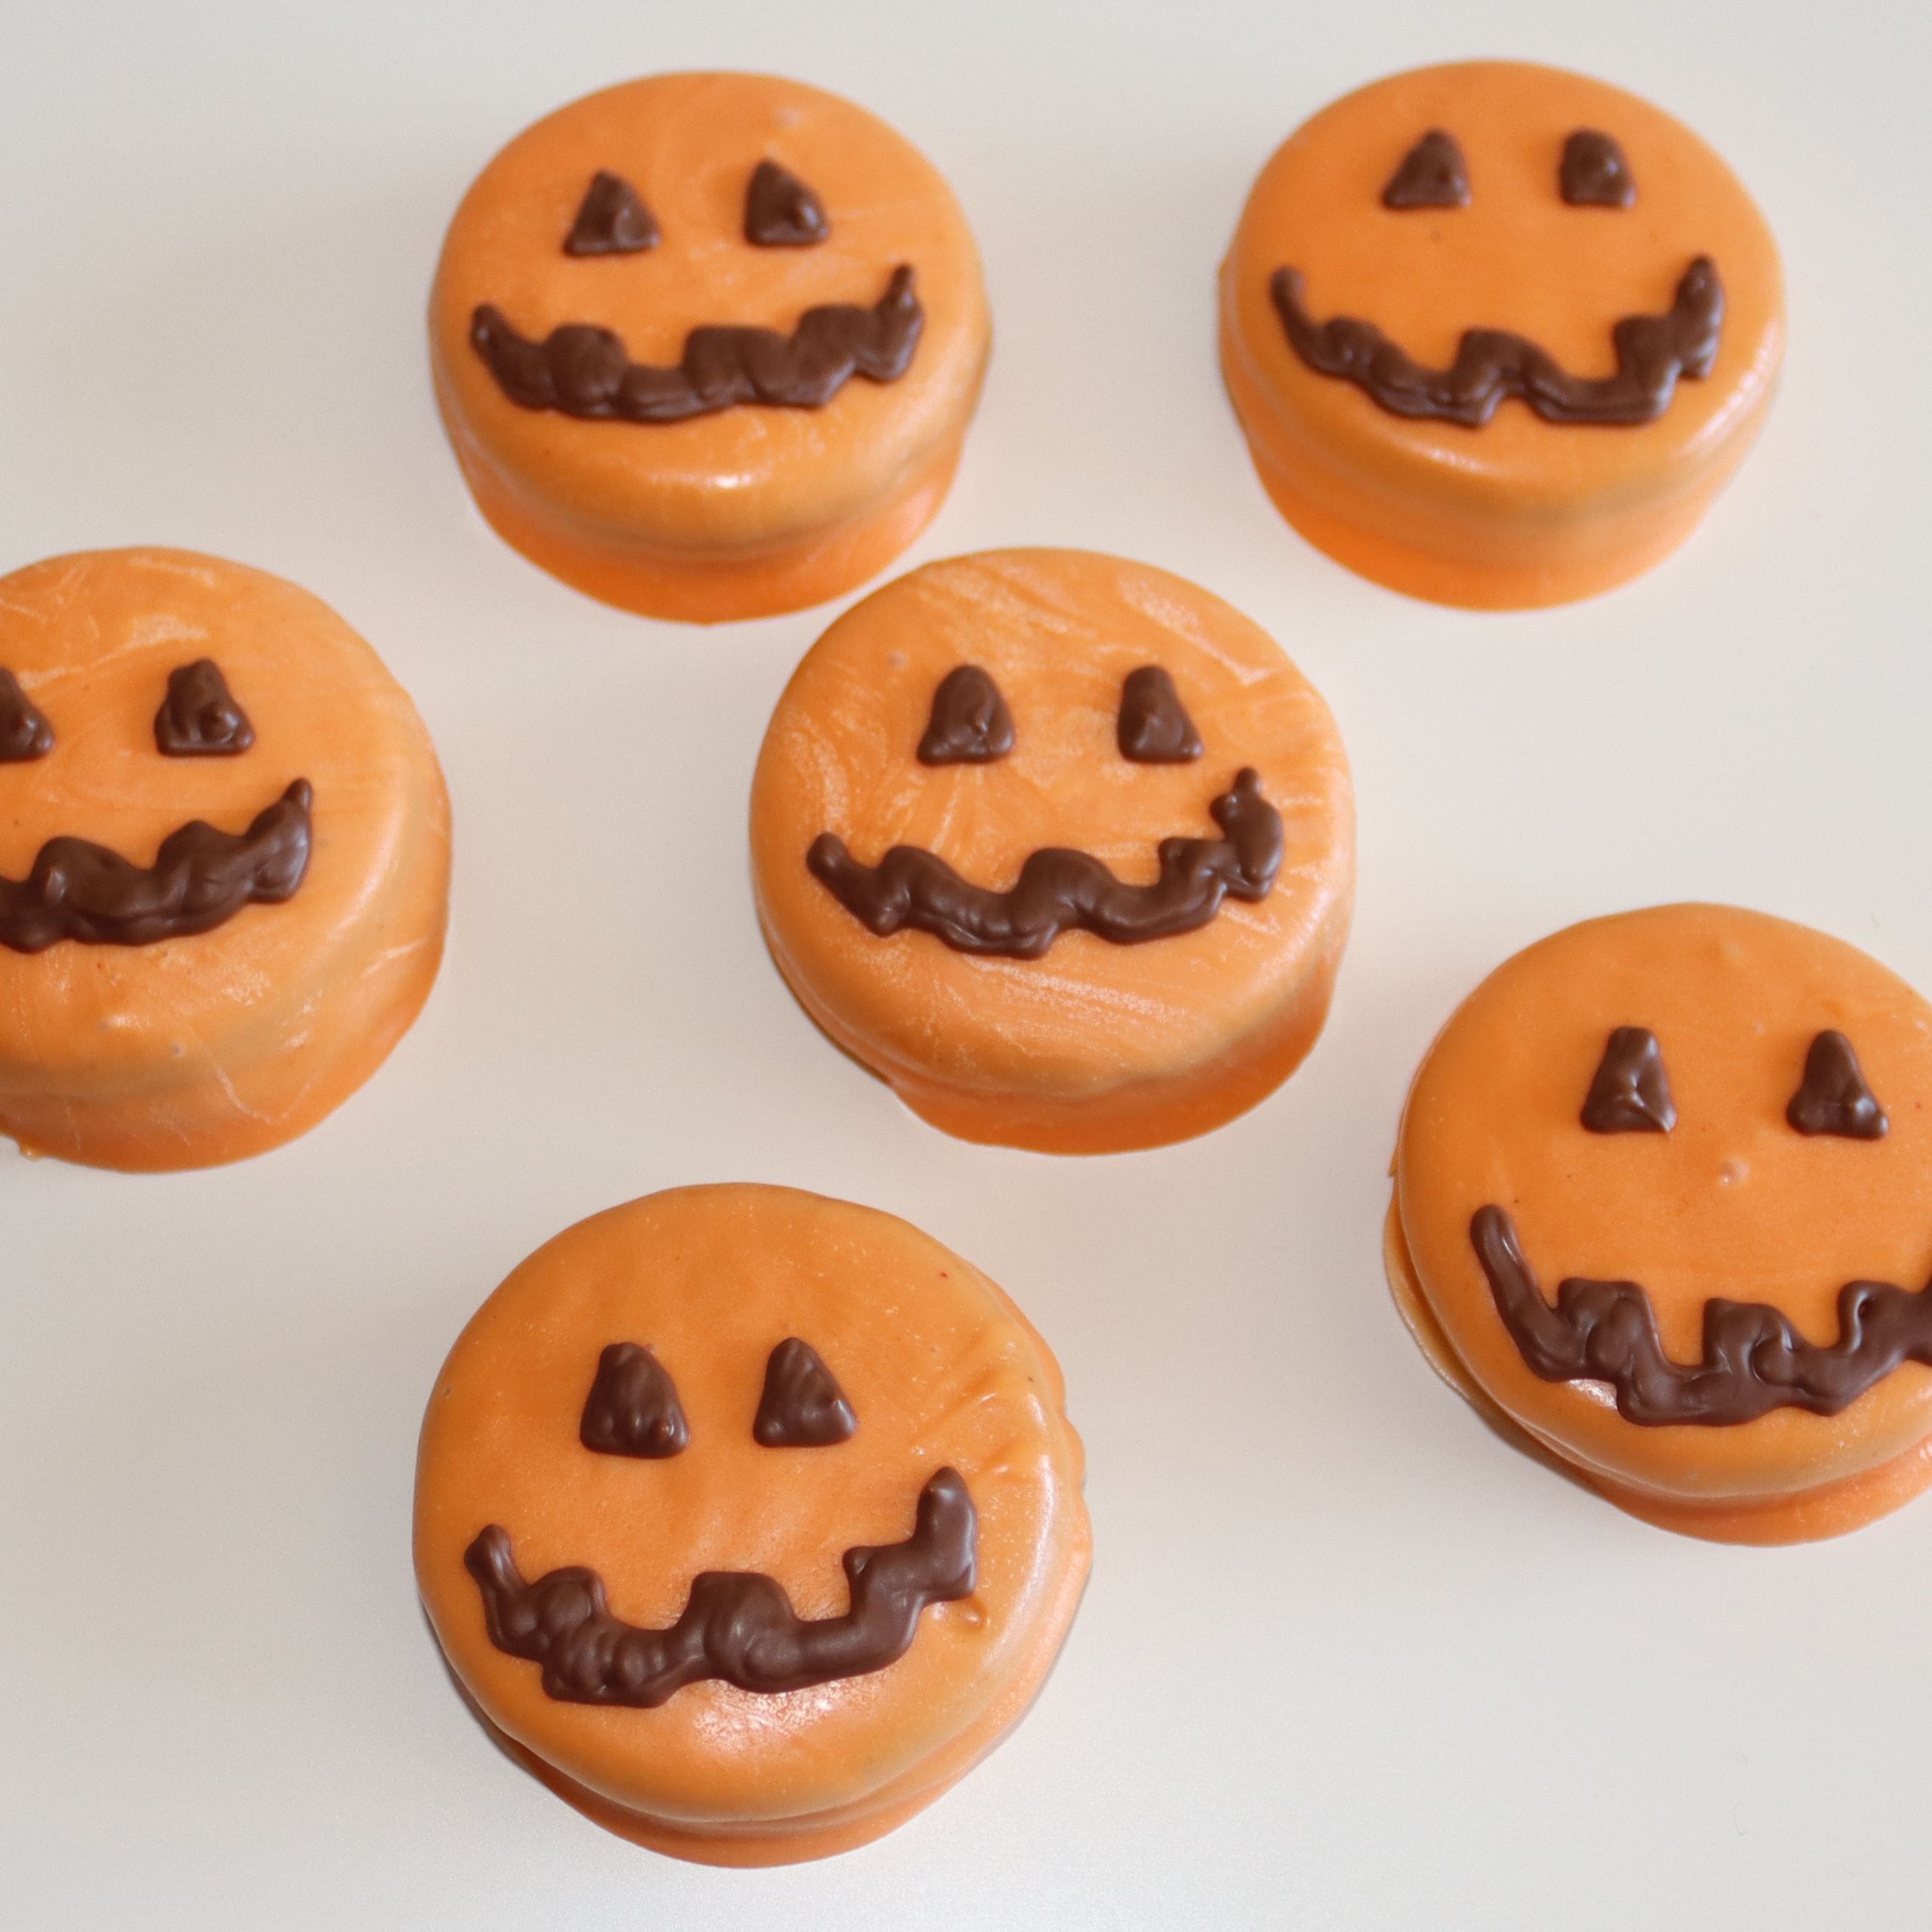
There are so many ways to decorate Oreos. I love making chocolate Oreos using a mold. It gives you professional looking Oreos that can be decorated anyway you’d like. Some of my favorite holiday Oreos include Christmas Tree Oreos, and Mickey Mouse Oreo pops.
If you try this Chocolate Ladybug Oreos recipe, or any other recipe on my blog, please leave a 🌟 star rating and tell me how it went in the 📝 comments below. Thanks for visiting and happy baking!

Ladybug Chocolate Covered Oreos
Equipment
- Microwave safe bowl
- Baking Sheet
- Parchment Paper
- Cake Pop Stick
Ingredients
- 18 Oreo cookies
- 10 ounces milk chocolate melts
- 10 ounces white chocolate melts
- 1 tablespoon vegetable oil
- Edible eyes
- Red food coloring
Instructions
- Line two baking sheets with parchment paper and set aside.
- In a microwave-safe bowl, combine the milk chocolate melts and vegetable oil. Heat in 30-second intervals, stirring between each interval, until the chocolate is fully melted and smooth.
- Dip 12 Oreo cookies into the melted milk chocolate, ensuring they are fully coated. Gently tap off any excess chocolate, then transfer to one of the prepared baking sheets. Place the baking sheet in the fridge for about 10 minutes to allow the chocolate to harden.
- Carefully separate the remaining Oreo cookies and scrape off the filling. Cut each chocolate wafer in half, ensuring you don't break them.
- Heat the white chocolate melts in a microwave-safe bowl, again using 30-second intervals and stirring in between. Once melted, add red food coloring, a little at a time, until the desired red color is achieved.
- Dip the Oreo halves into the red-colored white chocolate, ensuring both sides are fully covered. Place the halves on the second prepared baking sheet and transfer to the freezer for 10-15 minutes to harden.
- Once the red wings have hardened, dip the bottom side of them into the remaining milk chocolate to create a thin coating. Immediately place each red wing onto a full milk chocolate-covered Oreo to form the ladybug’s wings.
- Dip the edible eyes in the remaining milk chocolate and place two eyes on the front of each cookie, near the top.
- Use a small, rounded tool (like a cake pop stick) to dip into the remaining melted milk chocolate and create small dots along the red wings to complete the ladybug look.
- Allow the chocolate to fully harden on the cookies, about 10 minutes in the fridge, before serving.
Notes
– The vegetable oil will help the chocolate melt more evenly and create a smoother finish.
Follow me on Pinterest for more fun and easy cookie recipes for any occasion. If you try this recipe, be sure to leave a comment and let me know how it went.

- Red Velvet Blossom Cookies Recipe: Festive and Easy to Make - February 18, 2026
- Baileys Irish Cream Cookie Recipe: Fun Leprechaun Hats - February 4, 2026
- Easy Flourless Chocolate Tart Recipe: A Gluten-Free Treat - January 29, 2026