Easy Halloween Oreo Balls: Colorful No Bake Truffle Recipe
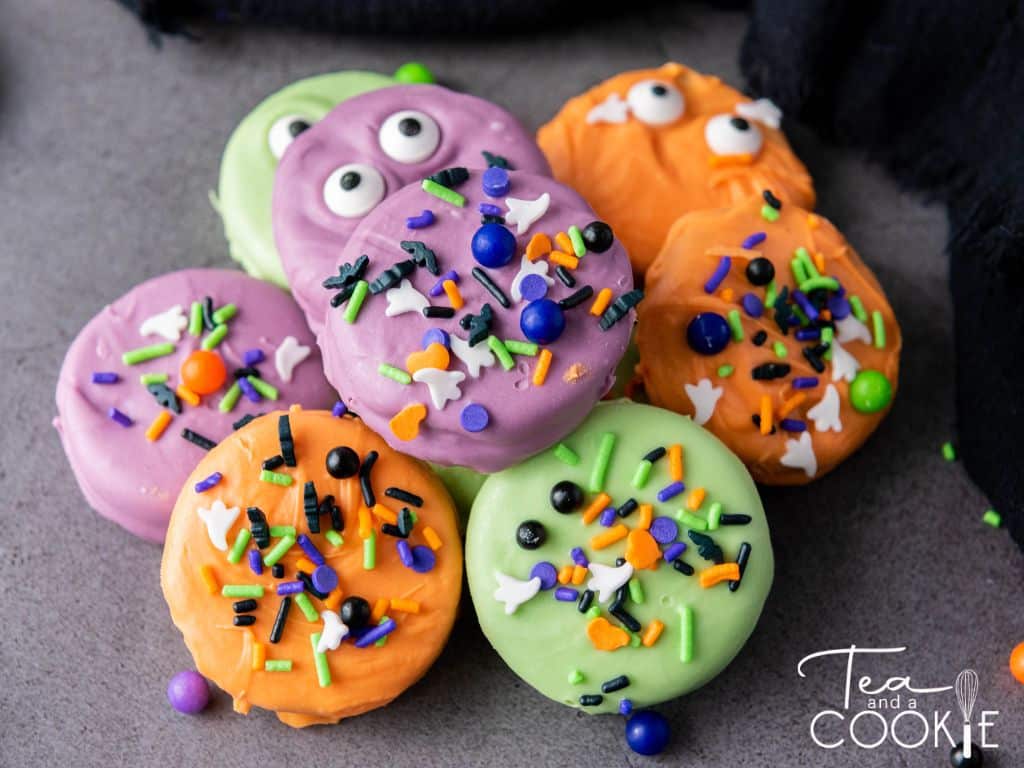
These easy Halloween Oreo balls are colorful treats to make for the holiday, but are perfect any time of year. They are a fun, no-bake Oreo truffle loaded with color on the inside and out. Crushed Oreos and cream cheese are rolled into bite-sized truffles, then colored neon green, purple and orange for the perfect Halloween colors. They are great to make for a Halloween party, Fall bake sale, or any school event.

About Easy Halloween Oreo Balls
If you’ve made Oreo balls, or cake pops before, then you know how easy they are to make. These easy Halloween Oreo balls are no exception. It only takes a few ingredients to make them.

Ingredient Substitutions
The recipe calls for using Golden Oreos, but you can substitute any sandwich cookie you’d like. My only tip is to try and stick with cookies that are light in color. You can use regular Oreos if you want, but the colors won’t be as vibrant. Golden Oreos, Vienna fingers, lemon sandwich cookies, or any cream filled sandwich cookie works well.
These Halloween truffle balls are dipped in black melting chocolate, but you can use any type of chocolate you’d like. Just mix melted chocolate with black food coloring. An oil based food coloring is best when working with chocolate, otherwise the melted chocolate will seize and you won’t be able to use it. If you want to use a gel food coloring just ad a small amount of coconut oil, or vegetable oil to the chocolate. You can also use candy melts if you don’t want to worry about having to color it.
Tips for Success
It really is easy to make these Halloween Oreo balls, but to make things go smoothly for you. I have a few tips.
- Use a food processor to crush the Oreos. This gives the Oreo balls a smooth texture when mixed with the cream cheese. And using softened cream cheese is easier to mix with the Oreo crumbs.
- Chill the truffle balls before dipping them in chocolate. This helps the Halloween balls stay firm and makes coating them in chocolate easier.
- Work in batches so that the chocolate doesn’t seize up on you when it gets too cool for dipping.
- Add the sprinkles right after dipping the balls in chocolate so that the sprinkles stick. Don’t let the chocolate set.
- Place the Oreo balls on parchment paper or wax paper to prevent them from sticking.
Design Variations to Try
The fun thing about these easy Halloween Oreo balls is that you can get creative and try other designs. I went with green, purple, and orange because they are good Halloween colors. However, there are other fun color variations to try.
- Use red and black for the inside colors to give them a vampire theme. Then you can add red to the outside of the truffle balls as well.
- Make “slime” balls by coloring the inside neon green.
- Turn the Halloween balls into Halloween Pops by inserting a stick into the ball before chilling.
- Add even more color to these Oreo balls by drizzling colored candy melts to the outside of the balls after they’re dipped in chocolate.
- Add candy eyes to the outside of the balls to turn them into Halloween monsters balls. You can use the candy eyes to make this Spooky Eyeball Cookie Recipe. Another easy Halloween treat.
Step by Step With Photos
Place the Oreos, or whatever sandwich cookie you choose, into the bowl of a food processor. Pulse until the cookies are a fine crumb. If you don’t have a food processor, place the cookies in a Ziploc bag and use something heavy to crush the cookies. I like to use a meat pounder, but any heavy object with a smooth surface will work.
Transfer the cookie crumbs to a bowl and add the softened cream cheese. Use an electric stand mixer, or hand mixer, to blend the two ingredients together.

Separate the mixture into three bowls. Add a few drops of food coloring to each. For this example I added green food coloring to one bowl, purple to another, and orange to the final bowl. Use a spoon to stir each bowl until the color is evenly distributed.


Take a little bit of the mixture from each bowl to get about 1 tablespoon of the Oreo and cream cheese mixture. Roll the dough into a ball and place on a parchment lined tray. Place the tray in the freezer for 30 minutes, or in the refrigerator for at least an hour.

Place the melting chocolate, or candy melts in a microwave safe bowl and heat in 30 second intervals until the chocolate is smooth. Use two forks to hold one of the Oreo balls and dip it in the melted chocolate. Let the excess drip off and then place the Halloween truffle ball on the parchment. Immediately add the Halloween sprinkles, candy eyes, or any decorations you’d like.


Storage Tips
Store the Halloween Oreo balls in an airtight container in the fridge for up to a week. The Oreo balls can be made ahead and frozen for up to 2 months. Just save the chocolate dipping until you’re ready to use the Oreo balls. Remove the balls from the freezer and let them thaw overnight in the refrigerator before dipping in chocolate and decorating the bite sized treats.
If you need to store the Oreo truffle balls in layers, use parchment paper as a divider to keep the balls from sticking to each other. Storing them in a single layer is ideal.

I hope you give these easy Halloween Oreo Balls a try. They are rich, creamy, and the perfect no bake treat for Halloween parties or treat bags. Plus, they are a fun recipe to make with kids! And since they are easy to make ahead and freeze, they are perfect when you need to make something for a bake sale. Make the balls ahead of time and decorate just before needed. A stress-free way to turn these Halloween balls into a money maker.
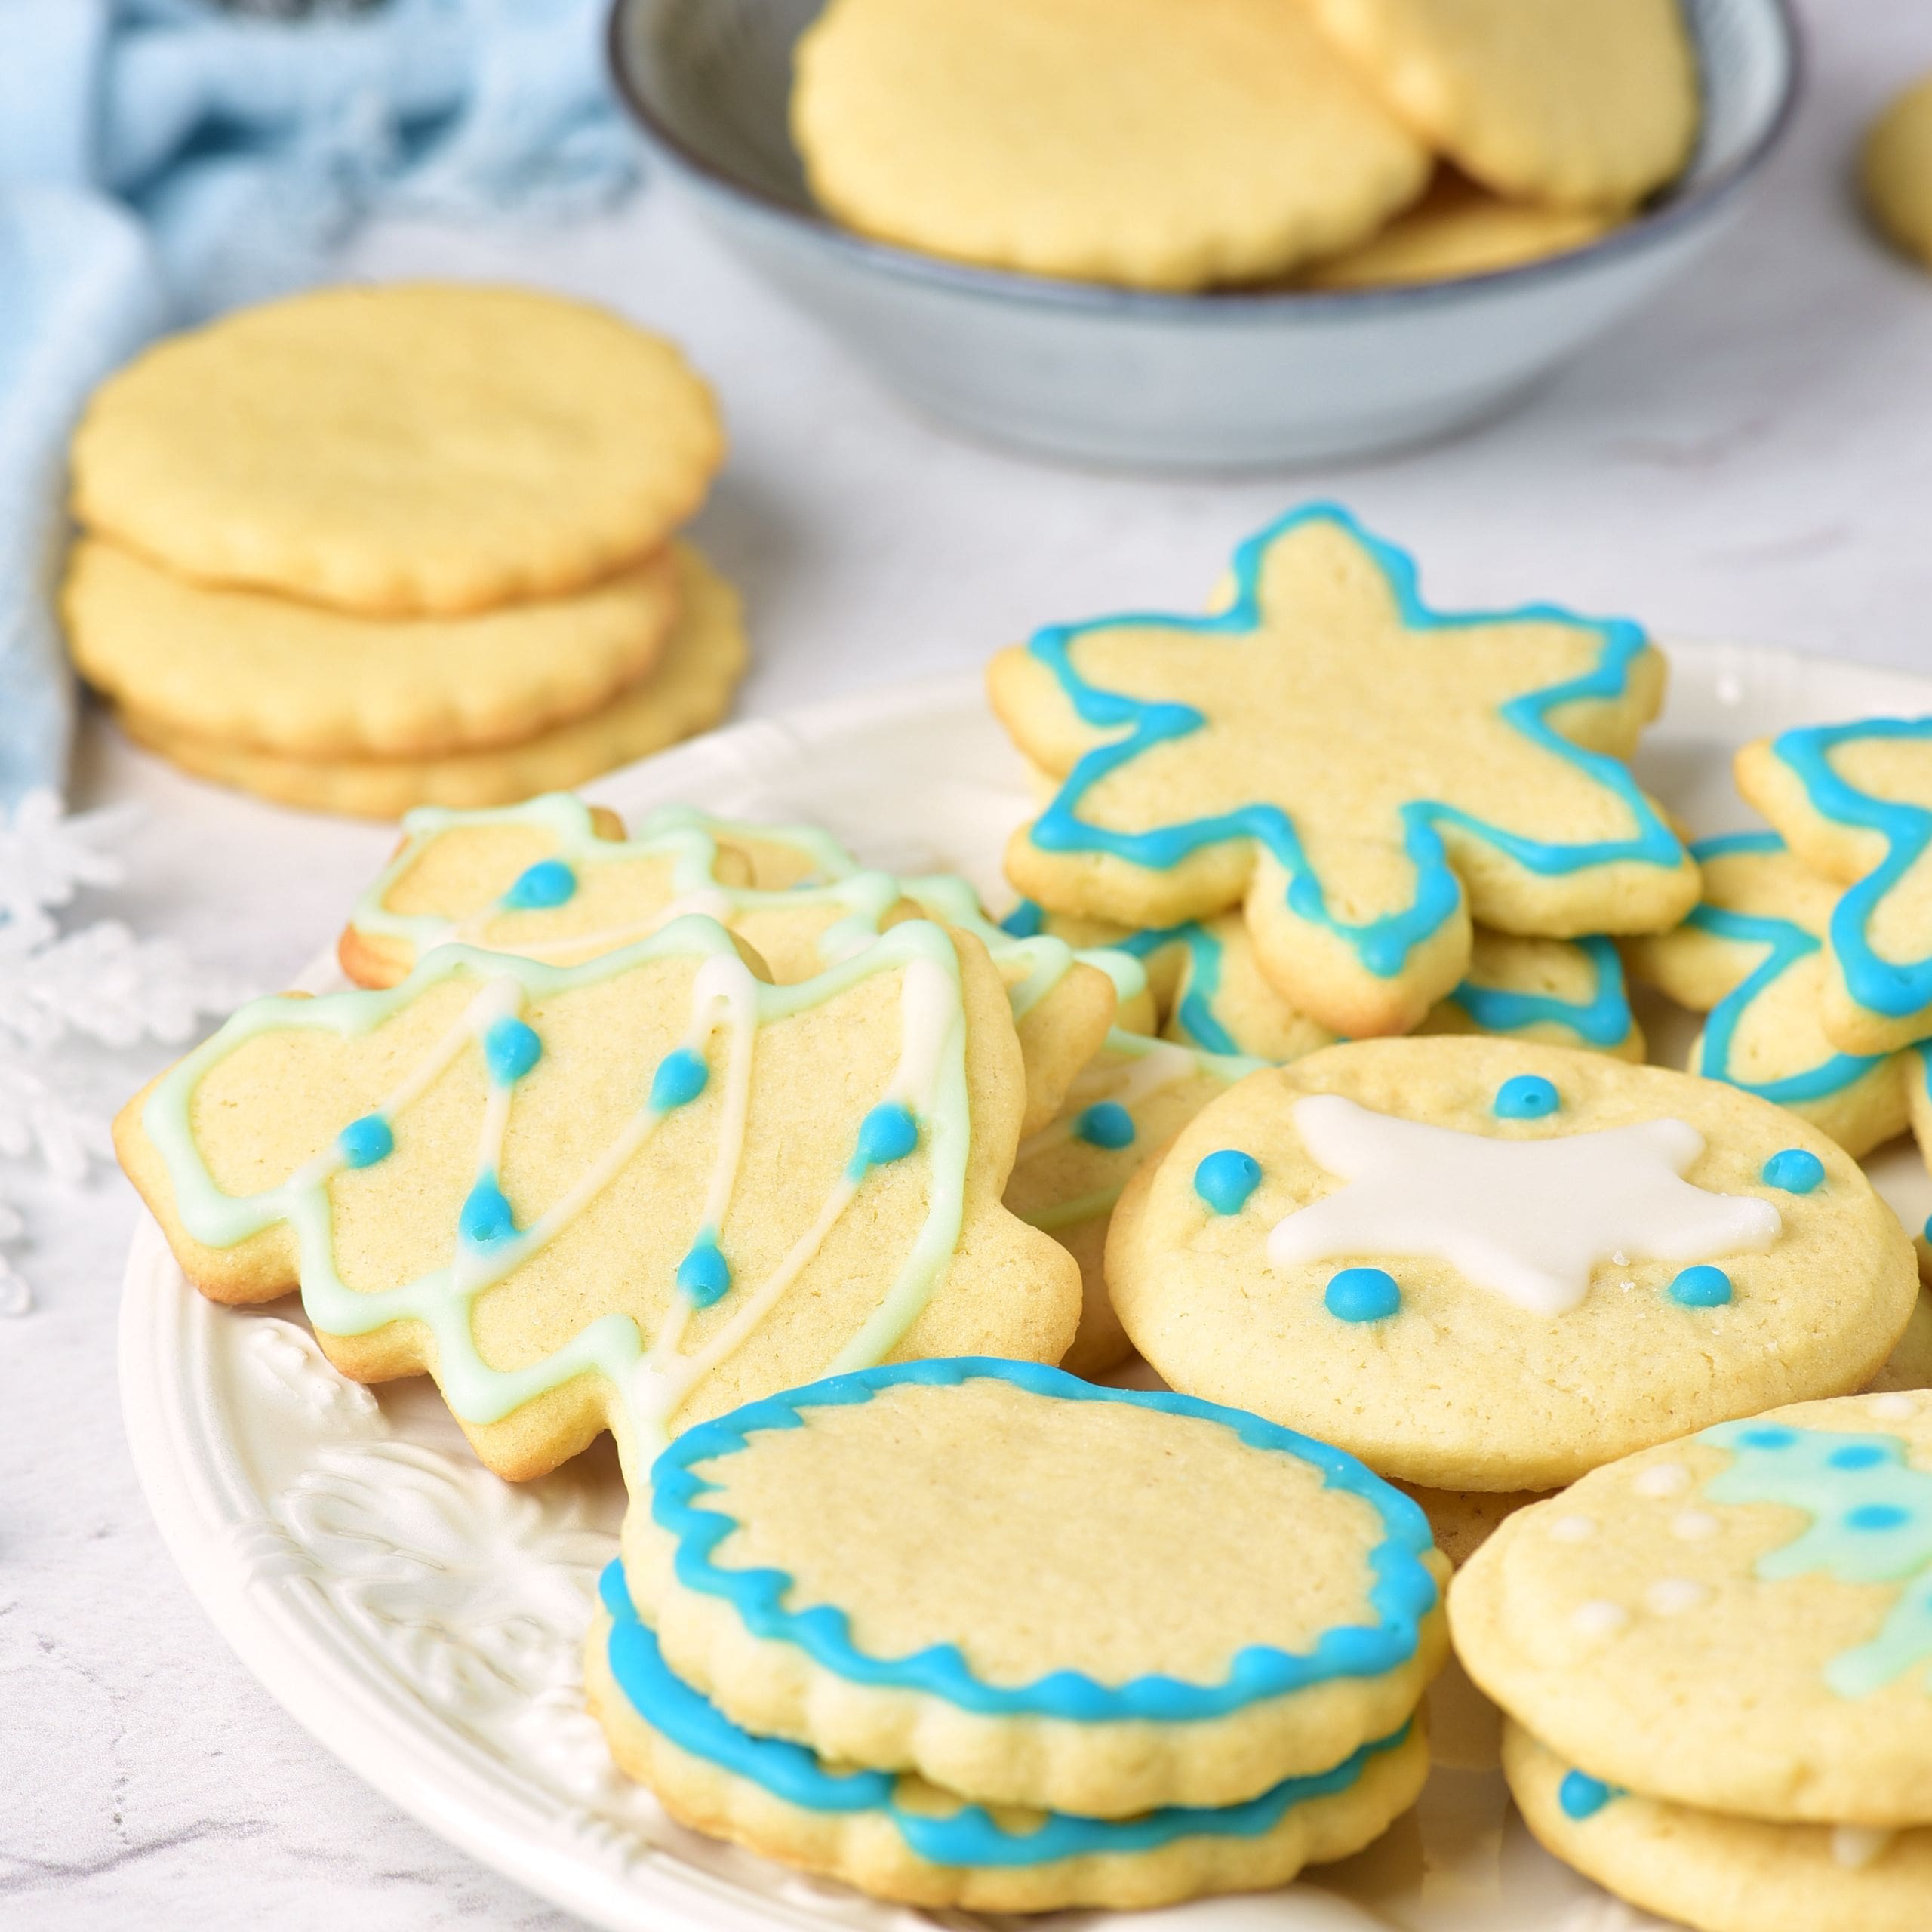
These colorful Oreo balls remind me of these Tie Dye Sugar Cookies. I made these for the 4th of July so they have a red, white and blue theme, but you could use Halloween colors to make Halloween tie dye cookies. And if you need a Halloween brownie recipe, these Spiderweb Brownies are an easy treat.
If you try this Easy Halloween Oreo Balls recipe, or any other recipe on my blog, please leave a 🌟 star rating and tell me how it went in the 📝 comments below. Thanks for visiting and happy baking!

Halloween Oreo Balls
Equipment
- Food Processor optional
- Parchment Paper
- Baking Sheet
- Microwave safe bowl
- 3 Small Bowls
Ingredients
- 36 golden oreos
- 8 ounce cream cheese softened
- green, purple, orange food coloring
- 12 ounce black melting chocolate
- Halloween sprinkles
Instructions
- Add the Golden Oreos to the bowl of a food processor and pulse until the Oreos are a fine crumb.
- Add the cookie crumbs to a large bowl and use an electric mixer to combine the Oreos and cream cheese. Mix until thoroughly combined.
- Separate the cookie mixture into 3 bowls.
- Add food coloring to each of the bowls. Dye one neon green, one bowl purple and one bowl orange. Stir until the colors are evenly distributed in each bowl.
- Take a little of each colored cookie mixture and roll into tablespoon size balls.
- Set aside on a parchment lined tray and chill in the freezer for 30 minutes, or in the refrigerator for at least an hour.
- Meanwhile melt your candy melts in a microwave safe dish in 30 second intervals until smooth and melted.
- Using 2 forks, carefully dip each chilled cookie ball in the melting chocolate and set back on the parchment lined tray.
- Immediately top with Halloween sprinkles, or any other decorations you'd like for the Oreo balls.
Notes
- Store in an airtight container in the fridge for up to 1 week
- Can be made ahead and frozen (before decorating) for up to 2 months — thaw in fridge before dipping in chocolate
- Avoid stacking the balls unless using parchment between layers to prevent smudging
Follow me on Pinterest for more fun and easy cookie recipes to make for any occasion. And if you try this recipe, be sure to leave a comment and let me know how it went.

- Red Velvet Blossom Cookies Recipe: Festive and Easy to Make - February 18, 2026
- Baileys Irish Cream Cookie Recipe: Fun Leprechaun Hats - February 4, 2026
- Easy Flourless Chocolate Tart Recipe: A Gluten-Free Treat - January 29, 2026