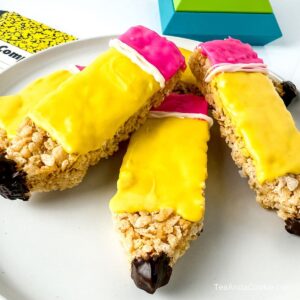
Cute Pencil Rice Krispie Treats: Easy Recipe Back to School
Going back to school isn’t always fun, but these pencil Rice Krispie treats definitely brighten up any day. The marshmallow rice cereal bars are so cute. Cut and decorated to look like a pencil, these Rice Krispie treats are fun, easy, and perfect for any back-to-school celebration.
About Pencil Rice Krispie Treats
The recipe for these pencil Rice Krispie treats is a straight forward rice cereal bar recipe. Melted butter and marshmallows mixed with rice cereal. What makes these different is how they are decorated to look like pencils. A fun design that’s a nice surprise to find in a lunch box. And they are perfect for a school bake sale too.

The Key Ingredients
These pencil Rice Krispie treats are very straight forward so I don’t have a lot of tips or suggestions when it comes to substitutions. You can use mini marshmallows instead of the large marshmallows if you’d like. But the bigger marshmallows give you some bigger chunks of melted marshmallow which is a fun surprise to bite into.
The recipe calls for using 3 different colors of melting chocolate, plus chocolate chips. But if you only have white chocolate, or white melting chocolate on hand, you can add some food coloring to get the colors you need.

Step by Step With Photos
Line a 9″x13″ baking pan with parchment paper, or aluminum foil. Let some excess hang over the sides so that it’s easy to remove the rice crispy treats from the pan. I also like to start by getting the 6 cups Rice Krispie cereal measured in a bowl and set aside until needed.
Add 5 Tablespoons butter to a large saucepan. Heat over medium heat until melted. Add 10 ounces of marshmallow to the pan and stir to combine.


Remove the pan from the heat and immediately add 6 cups rice cereal to the melted butter and marshmallow mixture. Stir until combined and then transfer the mixture to the prepared baking pan. Gently press the mixture into the pan so that it’s evenly distributed.


Let the Rice Krispie mixture cool. Once cool, or when you’re ready to decorate, use the excess parchment paper to lift the mixture out of the pan. Place on a cutting board and cut the treats into 4 long strips, about 2 inches wide.


Now cut the strips in half, or thirds, so that you have 8-12 rectangles. Any thinner pieces along the edge of the pan can be used to make thinner pencils. You can also make all of the pencils smaller if you’d like, just know that you may need a little more of the melted chocolate to decorate them all. To turn the rectangles into the shape of a pencil, cut off the corners on one end to create a point.


Place 4 ounces yellow melting chocolate in a microwave-safe bowl. Heat in 20 to 30 second intervals until the chocolate is melted and smooth. Repeat the process with 2 ounces pink melting chocolate, 1 ounce white melting chocolate and 1/4 cup chocolate chips when you’re ready for each color. Don’t do them all at once as there is some cooling time between colors.
Transfer the yellow melted chocolate into a piping bag and snip off the tip. Pipe a line at the top and bottom of where you want the yellow to start and end. Then fill-in the section between the lines. Place the rice cereal treats in the refrigerator for 5 minutes.


With the pink melted chocolate, fill in the rectangle at the bottom of the pencil. This is the eraser for the pencil. Place in the refrigerator for a few minutes to set the pink chocolate, and then add a line of white chocolate where the yellow and pink colors meet. This is just an extra detail to make the design stand out more. The finishing detail is with the melted chocolate chips.


Dip the tip of each pencil Rice Krispie treat into the melted chocolate chips. The chocolate resembles the lead for the pencil. Repeat with all of the pencils and then let the treats rest so that the chocolate sets.


Now you’re ready to dig-in and enjoy the pencil Rice Krispie treats. A chewy treat that is sure to put a smile on the face of anyone who tries them. These are big pencils, but you can make thinner strips out of the Rice Krispie mixture to make thinner pencils.
I like the bigger size because it’s a more significant. I especially like this size when the pencil Rice Krispie treats are used at a bake sale. But making thinner pencils bundled together would also be a cute bake sale treat. Whatever size you choose, I hope you have fun making these pencil no bake treats. An easy, back to school treat that is sure to please!

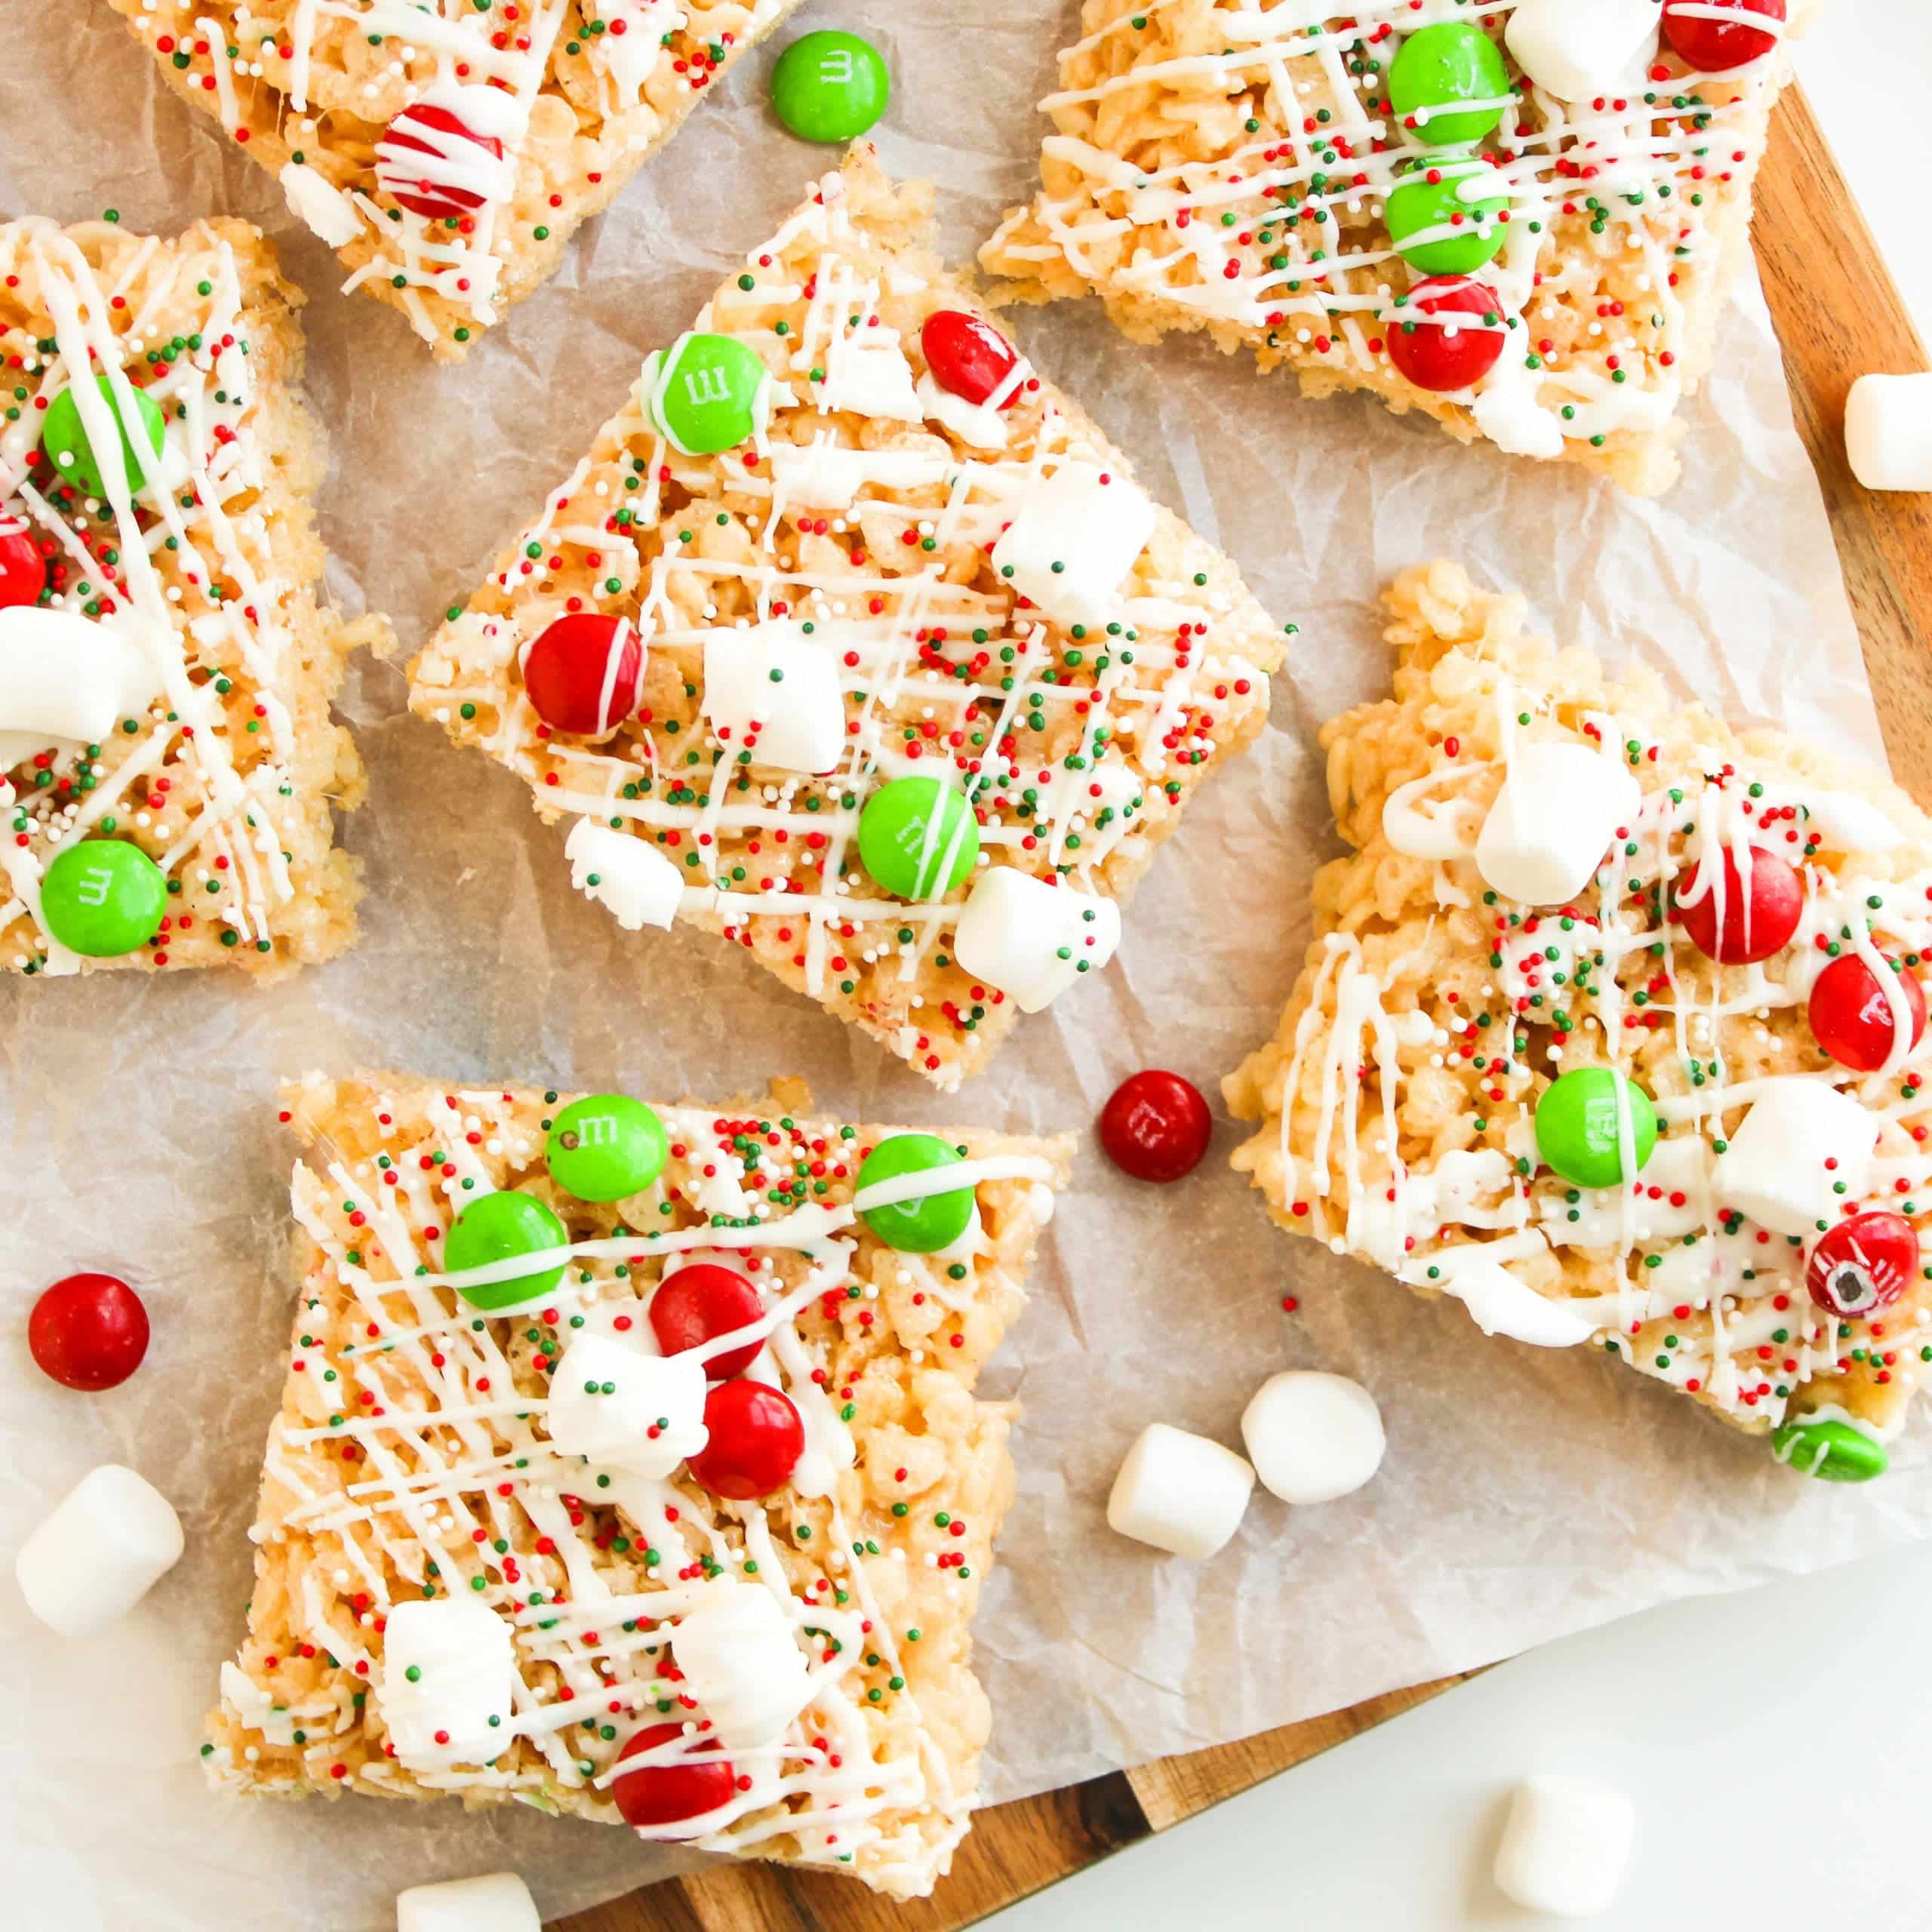
Want more fun and easy Rice Krispie treat recipes? Try these colorful Funfetti Rice Krispie Treats. Loaded with sprinkles and a chocolate drizzle, these treats are a perfect party snack. And if you want to keep summer going all year long, try these Smore Rice Krispie treats. It combines the flavors of two classic desserts. A Rice Krispie treat with graham crackers, marshmallows, and chocolate. Yum!
If you try this Pencil Rice Krispie Treats recipe, or any other recipe on my blog, please leave a 🌟 star rating and tell me how it went in the 📝 comments below. Thanks for visiting and happy baking!
Pencil Rice Cereal Treats Recipe
Equipment
- Piping Bags
- 4 Microwave Safe bowls
- Spatula
- Sauce Pan
- Parchment Paper
- 9 X 13 Inch Baking Pan
- Knife
Ingredients
- 6 Cups Rice Cereal
- 10 Ounces Marshmallows
- 5 Tablespoons of Butter + extra for spatula
- 4 Ounces Yellow Melting Chocolate
- 2 Ounces Pinking melting Chocolate
- 1 Ounce White Melting Chocolate
- 1/4 Cup Chocolate Chips
Instructions
- Line the 9×13 inch baking dish with parchment paper. Be sure to leave a little bit of extra paper on the sides of the dish so that you can easily remove the treats from the pan.
- Melt the butter in the sauce pan over medium heat until completely melted.
- Add the marshmallows to the pan. Rub some butter on your spatula and slowly mix the marshmallows until completely melted.
- Remove the pan from the heat and immediately add the rice cereal to the pan. Use the spatula to mix the ingredients until the rice cereal is combined with the marshmallows.
- Pour the rice cereal mixture into the prepared baking pan. Use the spatula to spread and flatten the rice cereal treat.
- Let the rice cereal treat cool.
- Once cooled, pull the rice cereal treat out of the pan by lifting the parchment paper on each side. Lay it on a flat surface, or cutting board.
- Using a sharp knife cut the treat into four long strips about 2 inches thick. Cut off any extra that’s left over. Now cut the ends of each strip to make sure they are straight.
- Cut the strips in half. They should be about 5 1/2 inches long and rectangle shape.
- On one end of the rice cereal treat rectangle, use a knife of the diagonal to slice off both corners. This should help you make the pointy end of the pencil.
- In a microwave safe bowl, melt the yellow chocolate in 30 second intervals until it is melted and smooth.
- Pour the chocolate in to a piping bag and cut a small hole at the tip.
- Pipe a line across the rice cereal treat where you want the yellow part of the pencil to begin and then pipe another line where you would like it to end. (Keep in mind you will need space for the eraser.) Now fill in the entire area with the yellow melting chocolate.
- Place the pencils In the refrigerator for 5 minutes.
- Using the same melting instructions above, melt and bag both the pink and white melting chocolate.
- Pipe the pink melting chocolate in the empty rectangle area at the end of the pencil treat. Place them in the refrigerator for 2-3 minutes.
- Next pipe the white melting chocolate across the area where the yellow chocolate ends and the pink chocolate beings. Pipe the line as thick as you would like.
- Melt the chocolate chips in the microwave in a microwave safe bowl for 15- 30 seconds. Stir the chocolate until it’s smooth and creamy.
- Dip the pointy end of the pencil treat into the melted chocolate to create the look of a sharpened pencil.
- Let the pencils rest until the chocolate has set.
Notes
- These rice cereal treat pencils can be stored in air tight container in a cool dry place for 3-4 days.
- If you don’t have parchment paper, you can use the extra butter to grease the baking pan. It will allow the rice cereal to be removed easily.
- You can just eat the left over scraps or use them to try and make extra pencil rice cereal treats, or mini erasers.
Follow me on Pinterest for more fun and easy cookie recipes to make for any occasion. And if you try this recipe, be sure to leave a comment and let me know how it went.

- Red Velvet Blossom Cookies Recipe: Festive and Easy to Make - February 18, 2026
- Baileys Irish Cream Cookie Recipe: Fun Leprechaun Hats - February 4, 2026
- Easy Flourless Chocolate Tart Recipe: A Gluten-Free Treat - January 29, 2026